")
Can you guess what this picture frame was, in its former life…?
Something found in just about every household…
that gets emptied frequently…
and that people throw away when empty…
…
…
… Wait for it…
…
…
…
… a tissue box!

Of course, it takes quite a few embellishments to transform a humble tissue box into a (sort of) steampunk-esque picture frame. To perform that kind of a transformation, you’ve got to scrape together a lot of varied metal odds and ends and scraps. Women my age (we won’t say exactly how old that is, but suffice it to say that I was around before anyone had invented the word “steampunk”–I just liked jewelry with watch parts and keys on it) have often collected a lot of outdated costume jewelry over the years. Some of this stuff hasn’t seen the light of day since the Bangles were on Top 40 radio!
")
If your collection of jewelry-you-never-intend-to-wear-again isn’t quite as large as mine, check out yard sales and eBay — places where people go to get rid of jewelry they never intend to wear again. Old “hair jewelry” (clips/barrettes) and metal parts from old belts and purses are also good sources for materials. Don’t forget the garage, workshop, or good old “junk drawer” for miscellaneous hardware, wire, and machine parts.
If you don’t have enough “used junk”, that’s okay. You can also buy junk– some of it very cool and stylized — brand new. At my local hobby store, I saw a whole line of artstic metal embellishments that made me drool… See what I’m talking about over at Idea-ology. (No, nobody is paying me to say that. But I CAN be bought, if Tim Holtz wants to send me a bunch of free stuff… Hint, hint!)
I was trying to keep costs down on my project, so I decided not to buy anything unless it was (as my southern mom used to say), “on BIG sale”! I didn’t even consider an item unless it was half off its original price. Some jewelry parts, some pre-cut mat boards, and a wonderful cast-iron door knocker fit that bill. I broke down and paid full price for a couple of complementary sheets of scrapbook paper, making sure to choose ones that conveyed a sense of grungy antiquity.
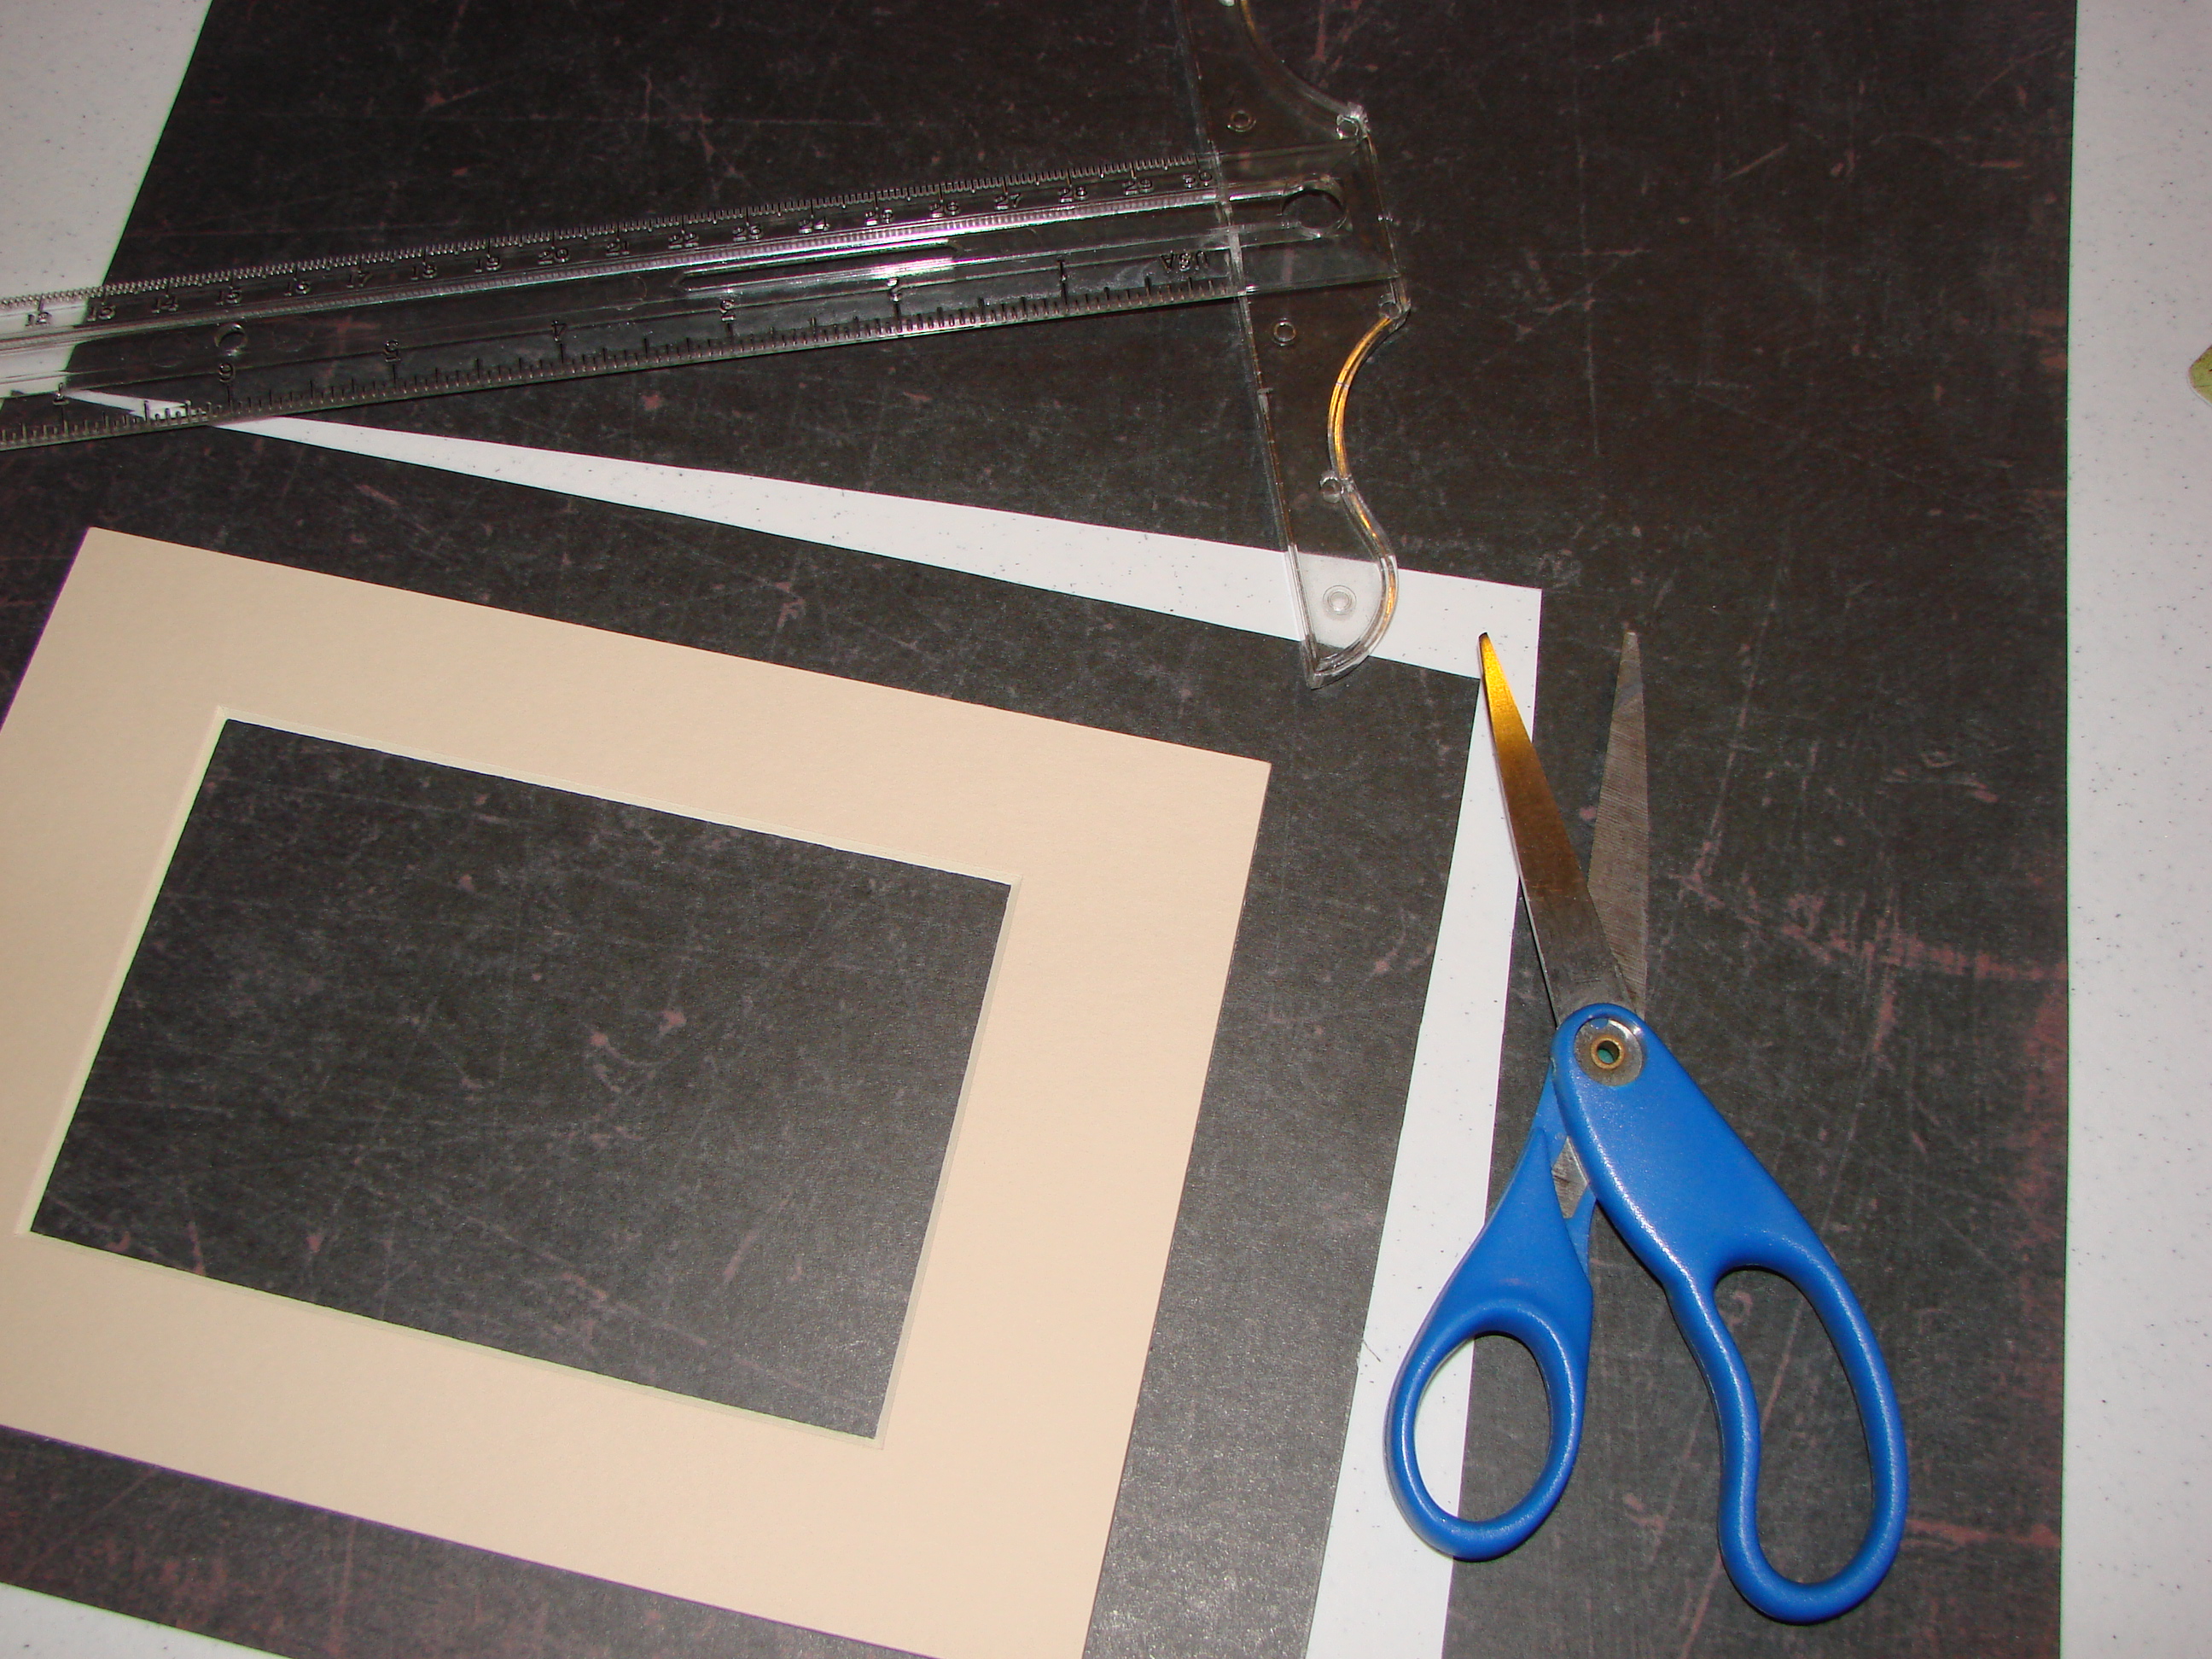
So, here are the items you’ll need:
- A tissue box
- A 5×7″ pre-cut mat board (otional — you could also just cut a piece of scrap cardboard, if you cut very neatly)
- A clear plastic egg carton (or any flat piece of plastic or acetate that is at least as large as the opening on the mat board)
- Pretty paper to cover the tissue box (unless you like the existing graphics)
- A varied collection of “metallica”
- Strong adhesives that will bond metal to paper, and to other metals — it also needs to dry clear
- Foam tape
- Tools for working with metals: wire cutters, needle nose pliers, etc.
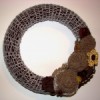
- Standard crafting supplies: Glue, scissors, craft knife, ruler, marker, etc.

I did not end up using everything you see here (for example, the hammer and the washers and the spiral earring…) and also added some items not pictured. The design sort of “evolved” as I played with the materials. I’m sure yours will, too!
The first thing to do is to cover the pre-cut mat board with some of the scrapbook paper. I used a dark brown/black blend with a distressed finish.
")
To cover it, place it face-down on the wrong side of the paper. Trace all around the opening, and draw an X corner to corner.
Cut along the X lines, trim off the ends of the resulting points, and then stick the mat board to the paper:
")
Stick the mat board to the wrong side of the paper, using the lines you drew as a positioning guide. (I used Mod Podge to attach the scrapbook paper to the mat board. But in hindsight, I wish I had not used a water-based product. The piece warped and the paper wrinkled. I had to put it under a couple of heavy books to try to flatten it out.)
Next, fold the X-flaps from the center outward and paste them down.
Then trim off small squares at all 4 corners. and fold the resulting flaps inward over the mat board and paste them in place.
Now, time to work on that tissue box….
")
First, measure the long side of the box and draw a line straight up the middle… If you are not covering the box with scrapbook paper, this line will show, so don’t use a black maker! If you are going to wrap it in scrapbook paper (as I did), then you can use any marker you want.
However, you may want to draw your line off-center (closer to the top of the box) by maybe a quarter-inch or so. When I got all that metal on the front of the frame, it became heavy and off-balance (more on that, later… I did find a way to fix it). I’m thinking it would have helped to have had the frame leaning by an extra quarter-inch or so.
Next, use the mat board as a measuring device. Place it on edge against the box, with one corner touching the bottom corner of the box and the other touching the center line. Mark the spot where the mat touches the center line (or maybe just a little bit short of that — that will insure that the mat board extends past the edge of the box, when your frame is finished).
")
Next, use a ruler or straight edge to draw a third line, connecting the top corner of the box to the center line, at the spot you just marked. Then draw a straight line across the side of the box, perpendicular to the center line, that also touched the marked spot. Extend that line around the box, on 3 sides: the top and both sides, leaving the bottom of the box unmarked. Now your box should look something like this:
")
Then carefully open the box end and cut along those 3 last lines you drew:
")
Cut everything off EXCEPT keep the bottom of the box (which will be the front of your frame) intact. Then score (cut lightly but NOT all the way through) along all the diagonal lines and then fold the sides inward, like this:
")
Next, draw a score line on the inside of the bottom of the box, then score and fold it to the front of the box (that is now the back side of your frame). Glue or tape it in place.
")
")
Cover the box with scrapbook paper.
")
Cut the egg carton lid (or other plastic piece) the right size to cover the opening and then attach it to the back side of your mat board. Still working on the back side of the mat board, lay your picture in the right spot and then surround it with foam tape, leaving a little bit of leeway so that your picture will be easy to insert and remove. You may need to stack two layers of foam tape in order to get enough thickness. (I used two layers of the tape and one layer of the squares, since they were different thicknesses.)
")
Remove the backing from the foam tape and stick the mat board to the tissue box. Be sure it is centered and that you are attaching it to what USED to be the bottom of the tissue box… It should be a smooth surface, with no flap (the flap should be on the other side.) Now, decorate the frame with your various metal pieces. Be sure not to block the opening where your picture goes!
Here is what I used for my frame:

If the metals make your frame top-heavy or off balance (that happened to mine, as I mentioned before), you can put a strip or two of foam tape on the bottom, toward the front, so that the whole thing tips slightly backward. Be sure to cover it with scrapbook paper, because it might otherwise show from the front.
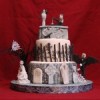
Now you are all finished! I like the look of a vintage photo in this frame. Adds to its impact, I think.
")
But of course, a modern picture would look nice, too.
Happy frame-making!


