Sharp looking pins
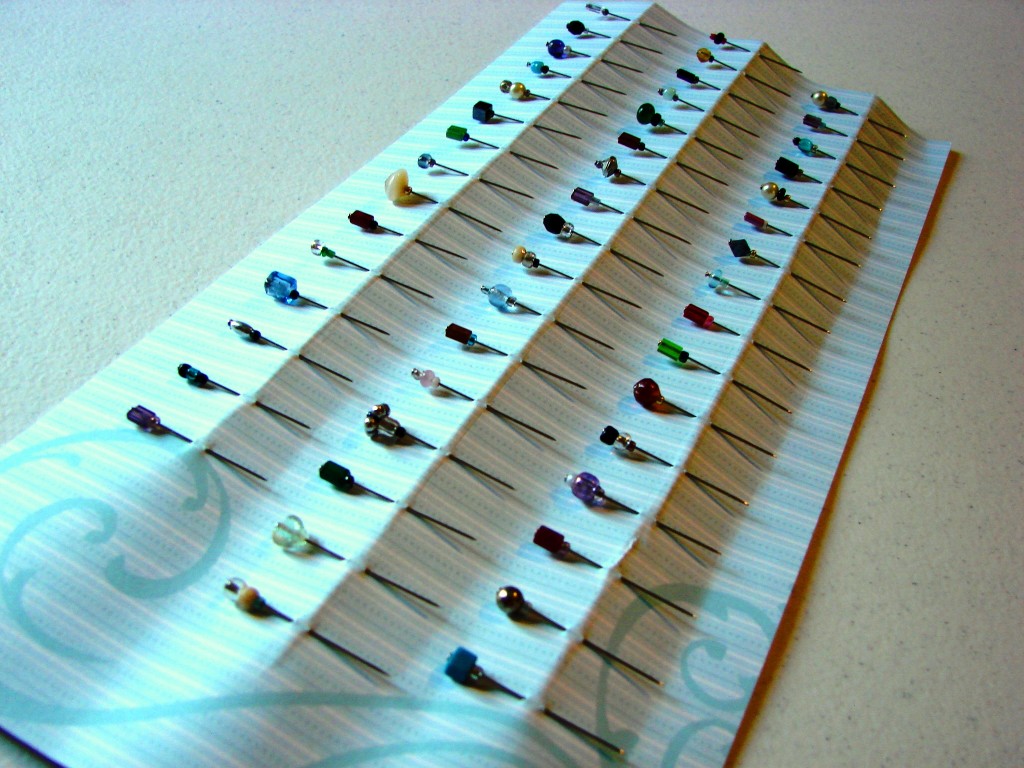
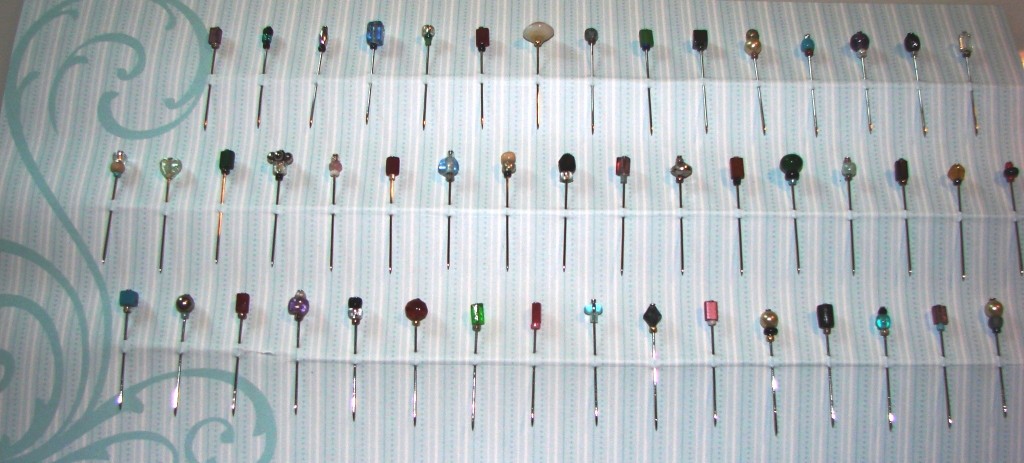
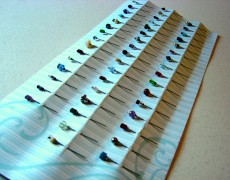
These bejeweled sewing pins are pretty, but also practical — they sparle, making them easier to find in the folds of fabric, or if dropped on the floor. They make a great gift for anyone who enjoys sewing. To me, they look like fancy, antique hatpins. You can create a set by making them all exactly alike, but I prefer a colorful variety.
Maybe best of all, this is a super quick and easy craft. You can make a lot of these in less than an hour.
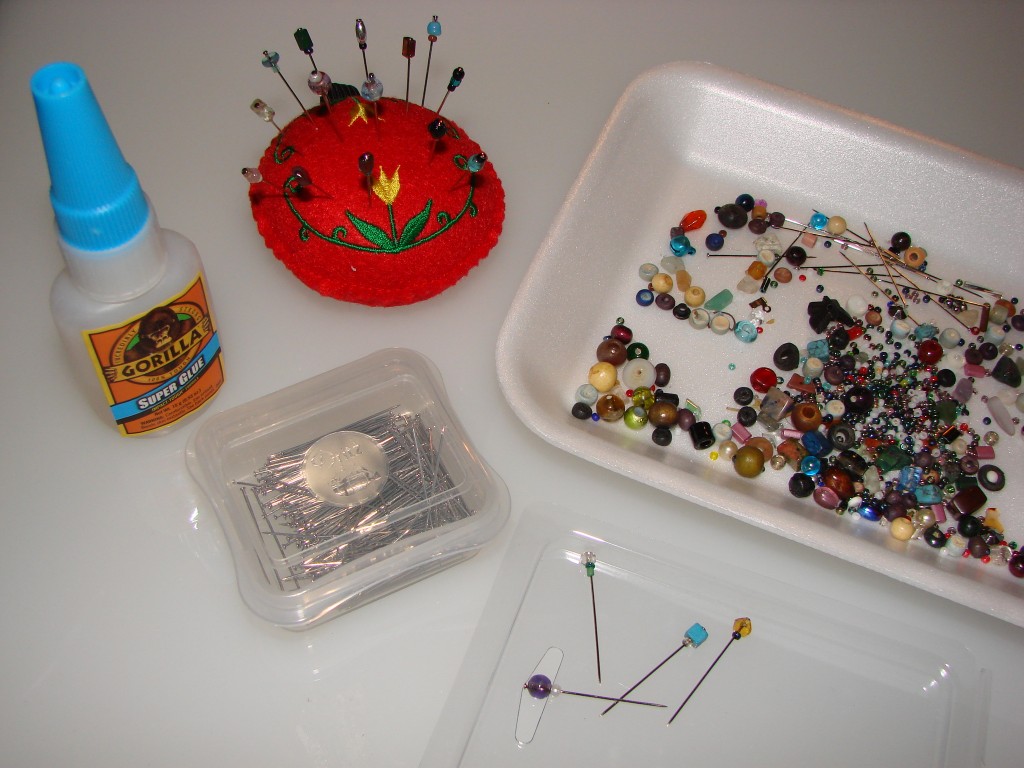
Here’s what you need:
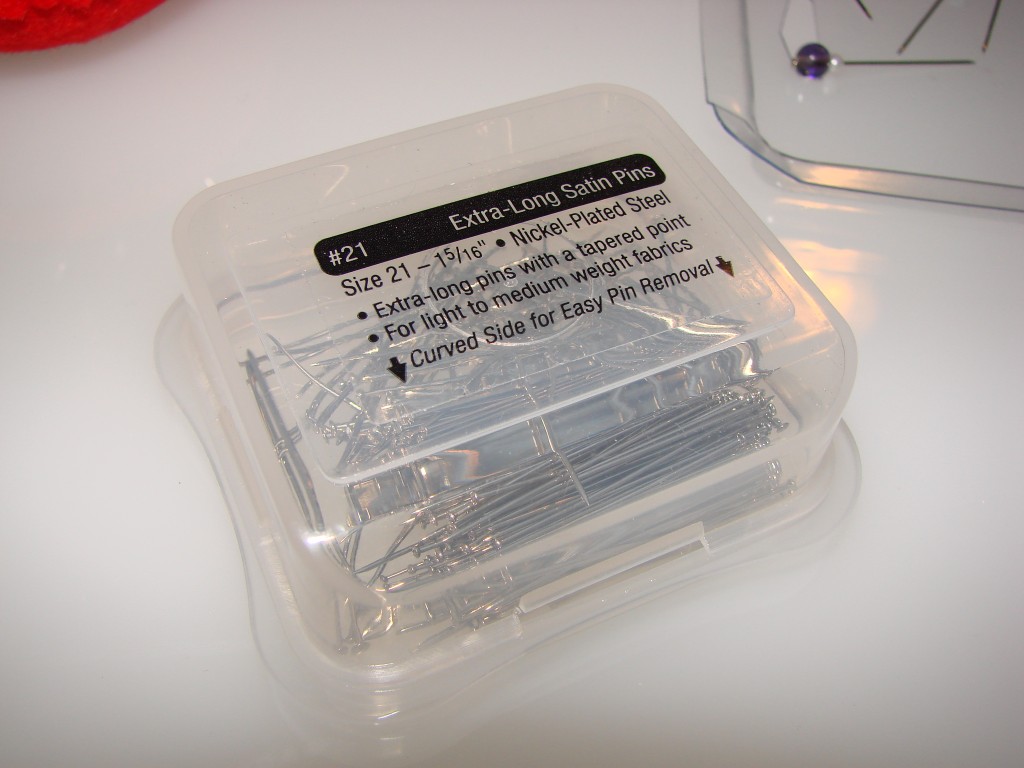
Pins (obviously!) It helps if they are slightly longer than usual. I used the kind that have plain, flat, metal heads.
Beads (again, obviously!) It helps if they have smallish holes (so the pins don’t go all the way through) … but if the holes are larger, you can maybe still use them as long as you put seed beads on either side. Most seed beads did fit on my pins, but there were a few with holes that were too small.
Super glue (of course it goes without saying that you should always be careful with this product — I don’t want anyone to end up looking like Edward Scissorhands because they accidentally stuck pins to their fingers!)
Scrap plastic (I use old blister packs from craft supplies I’ve purchased in the past; it should be very smooth so the glue won’t easily adhere to it.)
Paper towels
Pin cushions OR styrofoam
Here’s what you do:
Start by selecting 1 -3 beads to decorate the first pin. Don’t use too many or the pin part will not be long enough to be useful.
Thread the beads onto the pin, in the correct order. Then holding the pin at the sharp end, tilt it so that the pins fall against your fingers and away from the head.
Put one drop of glue on the underside of the head of the pin.
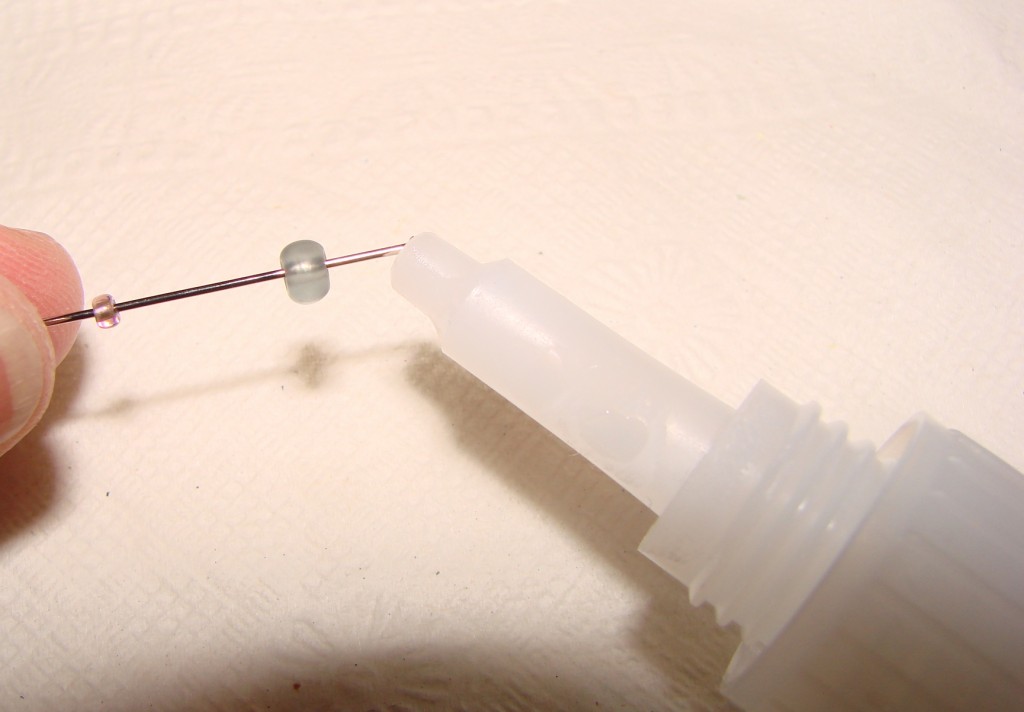
Then tilt pin the other way — so that the beads now fall against the glue droplet at the head of the pin. Use the nozzle of the glue to push the first bead all the way to the very end of the pin, against the head.
Then tilt the pin back the other direction, so the other beads come back to your fingers. (Keep the glue well away from your fingers, though!)
Add another tiny droplet of glue, right up against the bead that is already secured in place. Tilt the pin so the second bead falls into the glue. Again use the tip of the nozzle to be sure it is tightly against the first bead.
Continue in this fashion until all the beads are placed. Add one last droplet of glue under the last bead.
Wipe the nozzle and the pin quickly with a paper towel, holding the pin upside down so that all the beads stay in place.
Lay the pin down on its side on the blisterpack plastic. Let it dry for a few minutes or two on side, while you continue to assemble additional pins. (Make sure the pins don’t stick to each other when they are drying on the plastic.) Then blot again and insert pins (right side up) into a pin cushion or a piece of styrofoam to finish drying. Let it dry there overnight, undisturbed.
These pretty pins can also be used as jewelry/stickpins… or to secure corsages and boutenniers for weddings, dances, or other special occasions.
If you give them as a gift, you can display them as I have, on scrapbook cardstock. I used a design with stripes, so I could line the pins up perfectly straight.
I think it would also be pretty to arrange them in a circle.
One last tip — if you are like me and have some clumsy moments, you can always use a strong magnet to help collect dropped pins from the floor. Look sharp!
