Human Plushie

I had a request to make a human female plushie and (at long last)… here she is! The request was for a specific style of stuffed doll, similar to the Japanese “UFO Catcher” plush anime characters. She was originally supposed to be about five or six inches tall, but she ended up closer to seven or eight inches.
I learned a lot along the way (three failed versions!), so I have several tips to share with anyone out there who may want to undertake a project like this.
Fabric
First of all, the fabric you choose is really important. The ideal fabric is one that…
- Doesn’t fray or ravel,
- Is thin and flexible enough so that small pieces can easily be turned inside-out, BUT
- Won’t get stretched out of shape or look lumpy from the stuffing.
It is not so easy to find a fabric that meets all these criteria! I happened to have some peach-colored wool felt on hand, so I used that for my first attempt (“Fail Number One”).
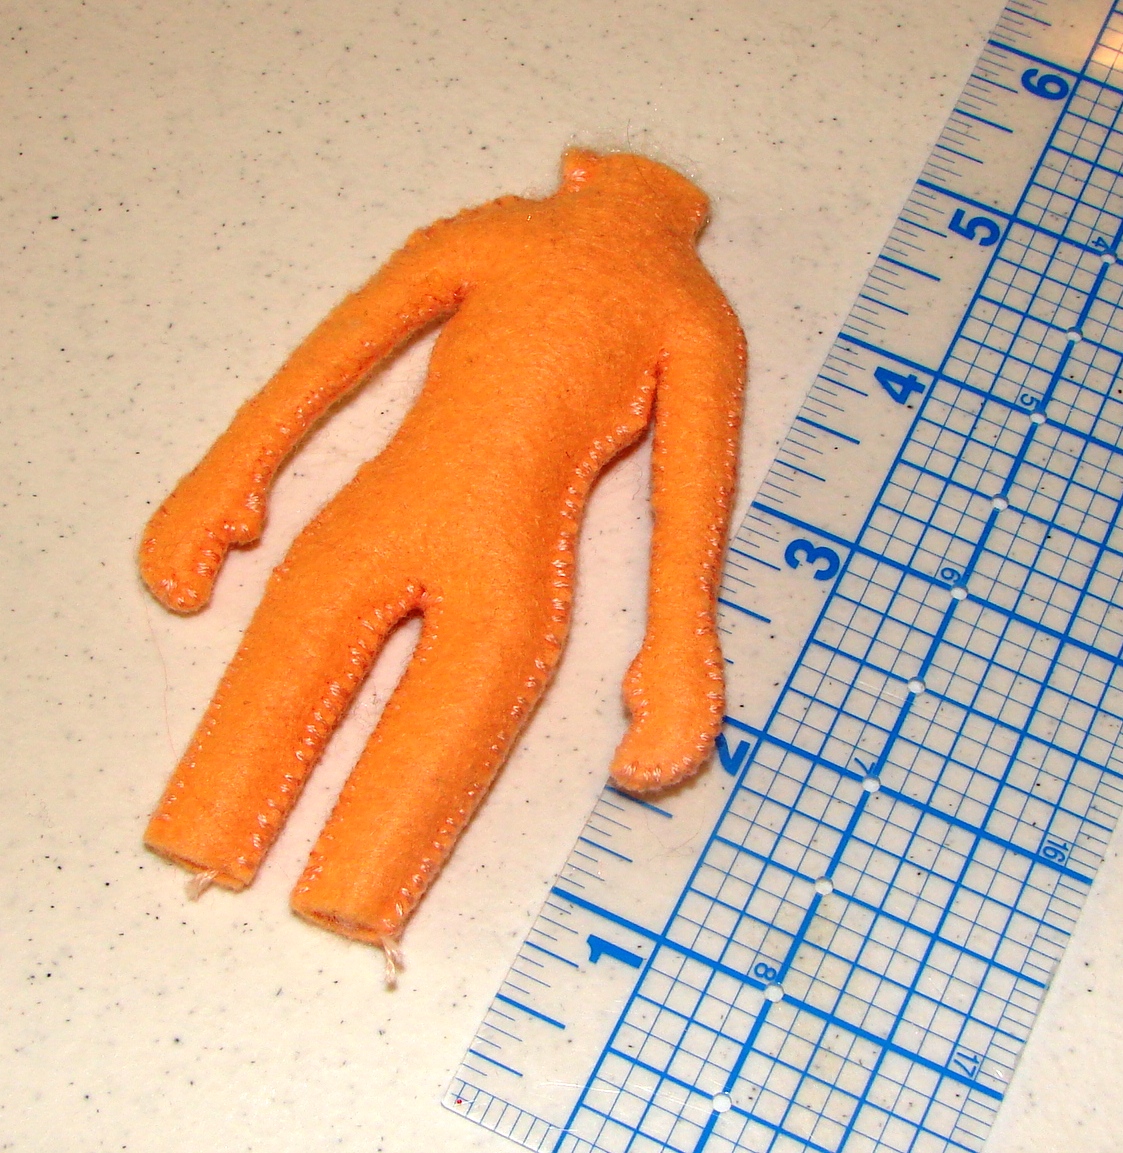
I was trying to use the same method that I’d used to make my last plushie: just cutting two copies of the outline of the character, then stitching the two pieces together to make a flat-ish plushie. Knowing it would be impossible to turn those teeny tiny arms inside-out, I just stitched the seams on the outside, sewing them by hand.
While the wool felt had a wonderfully soft surface (not at all like the synthetic craft felt sold at stores), those exterior seams did not look so nice, so I went fabric shopping. I was hoping to find something similar to the UFO Catcher plushie fabric. After spending most of a Saturday driving all over town, it became apparent that none of the local fabric vendors had anything like that. A helpful clerk at Hancock’s Fabrics, who inspected the plushie I was toting around with me, suggested I look online for “robe velour”.
An Internet search suggested that the current term for that fabric is “craft velour”… and that there are some other specialty fabrics that are well-suited to soft dolls. A wonderfully informative site called Dollmaker’s Journey provided a lot of advice on choosing fabrics, and also offered a sampler of swatches.
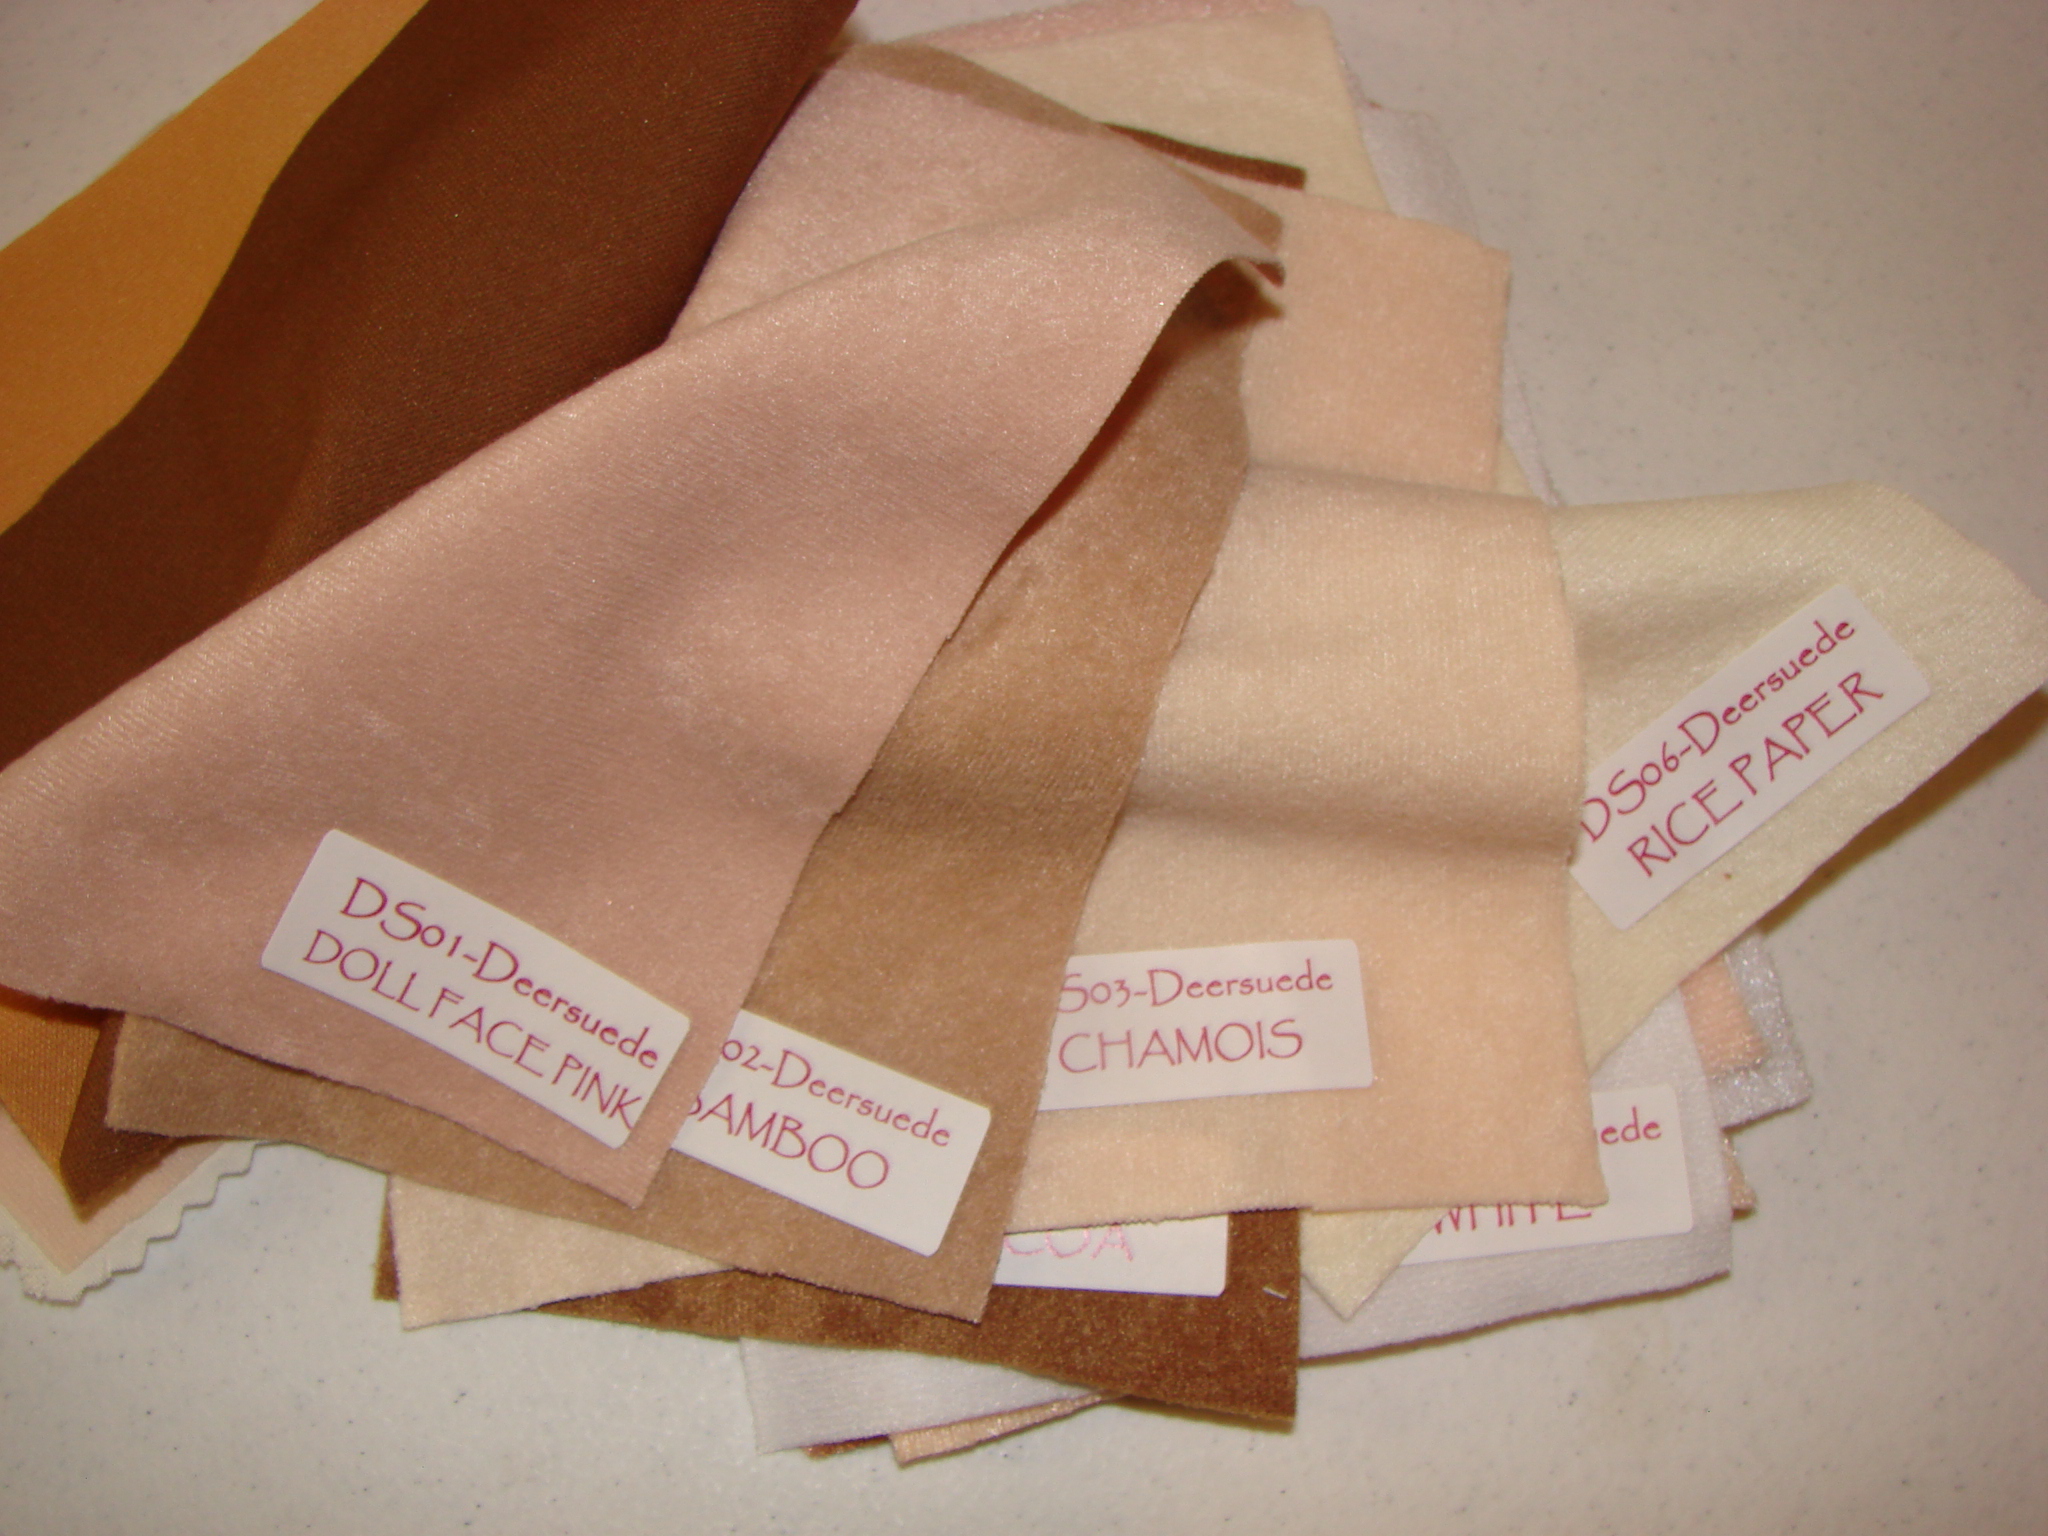
I ended up using something called “Deersuede”, which worked well.
However, after an attempt with the new fabric (“Fail Number Two”)…
…it became clear that I needed to increase the size a bit (in effect lowering the difficulty) and find a good pattern.
Pattern
The plushie was supposed to have a rounded head, and I did not feel confident in my ability to figure that out on my own. But I had an idea.
Many, many Christmases ago, my then-preschool son liked Neopets trading cards and had wanted a “Blue Scorchio” dragon stuffed animal. He’d seen RED Scorchio stuffed toys at stores, but for some reason wanted a blue one (at that time, not available from any manufacturer.) Back then, I had bought a red Scorchio and painstakingly took it apart to create pattern pieces, to turn that red Scorchio into a blue one.
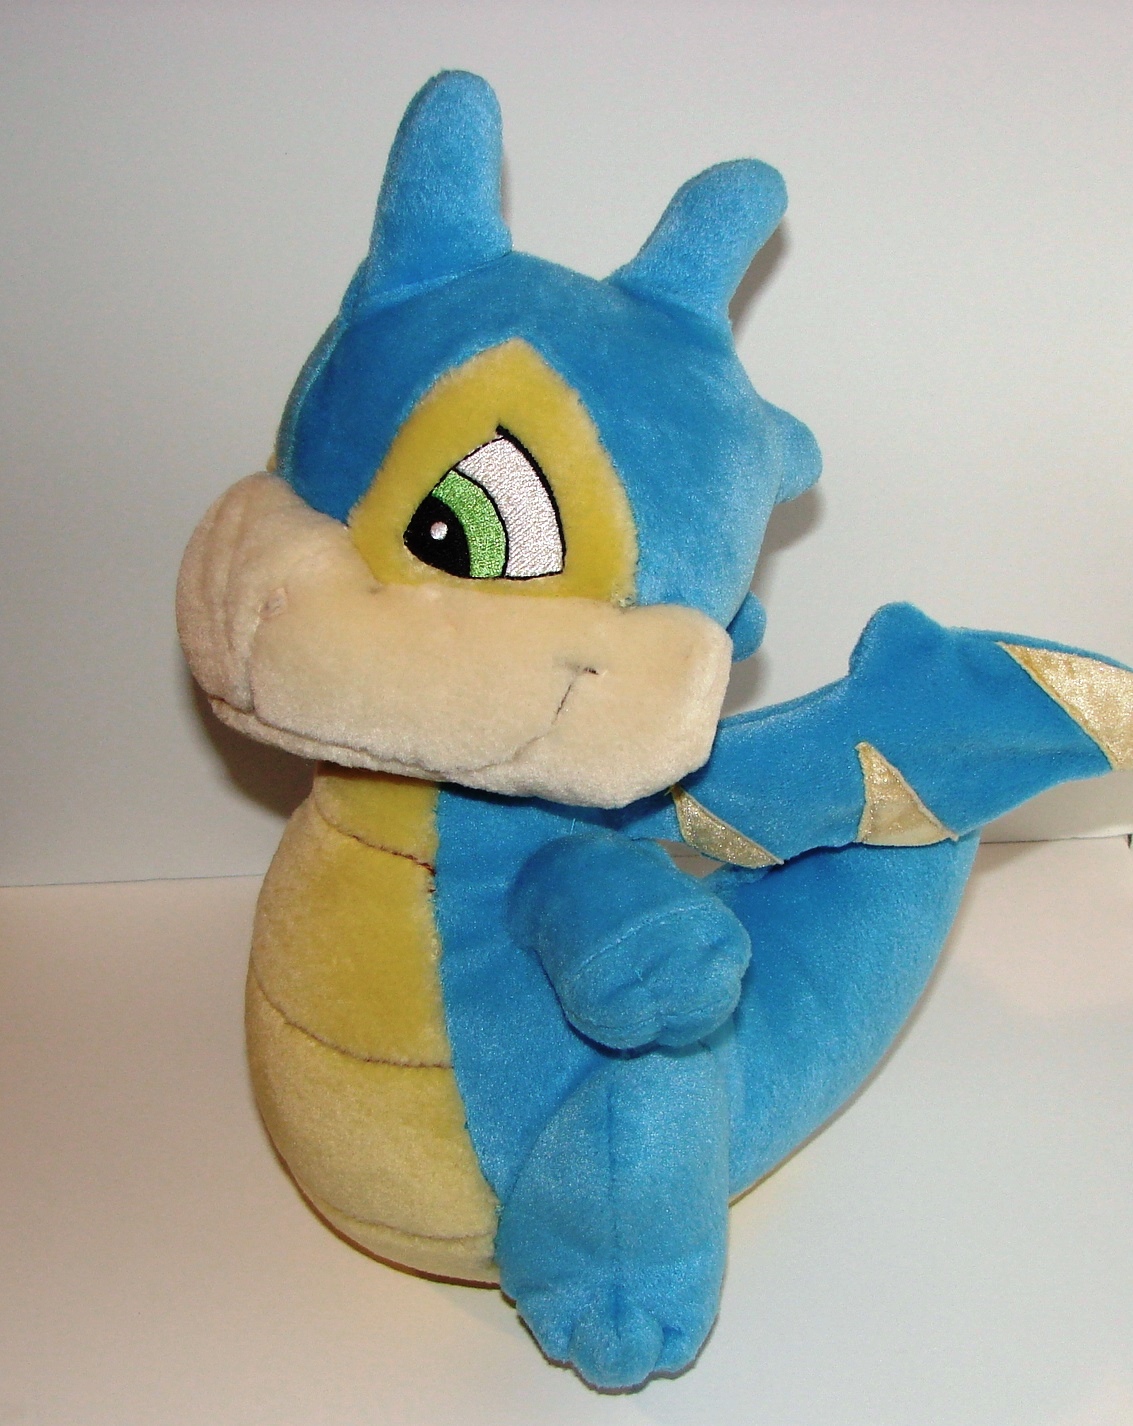
(Yeah, I was a doting mom, and he was my only child…) Maybe I could do the same thing for my plushie!
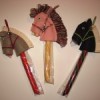
So, seam ripper in hand, I carefully dis-assembled a plushie of size and shape similar to the one I wanted to make.
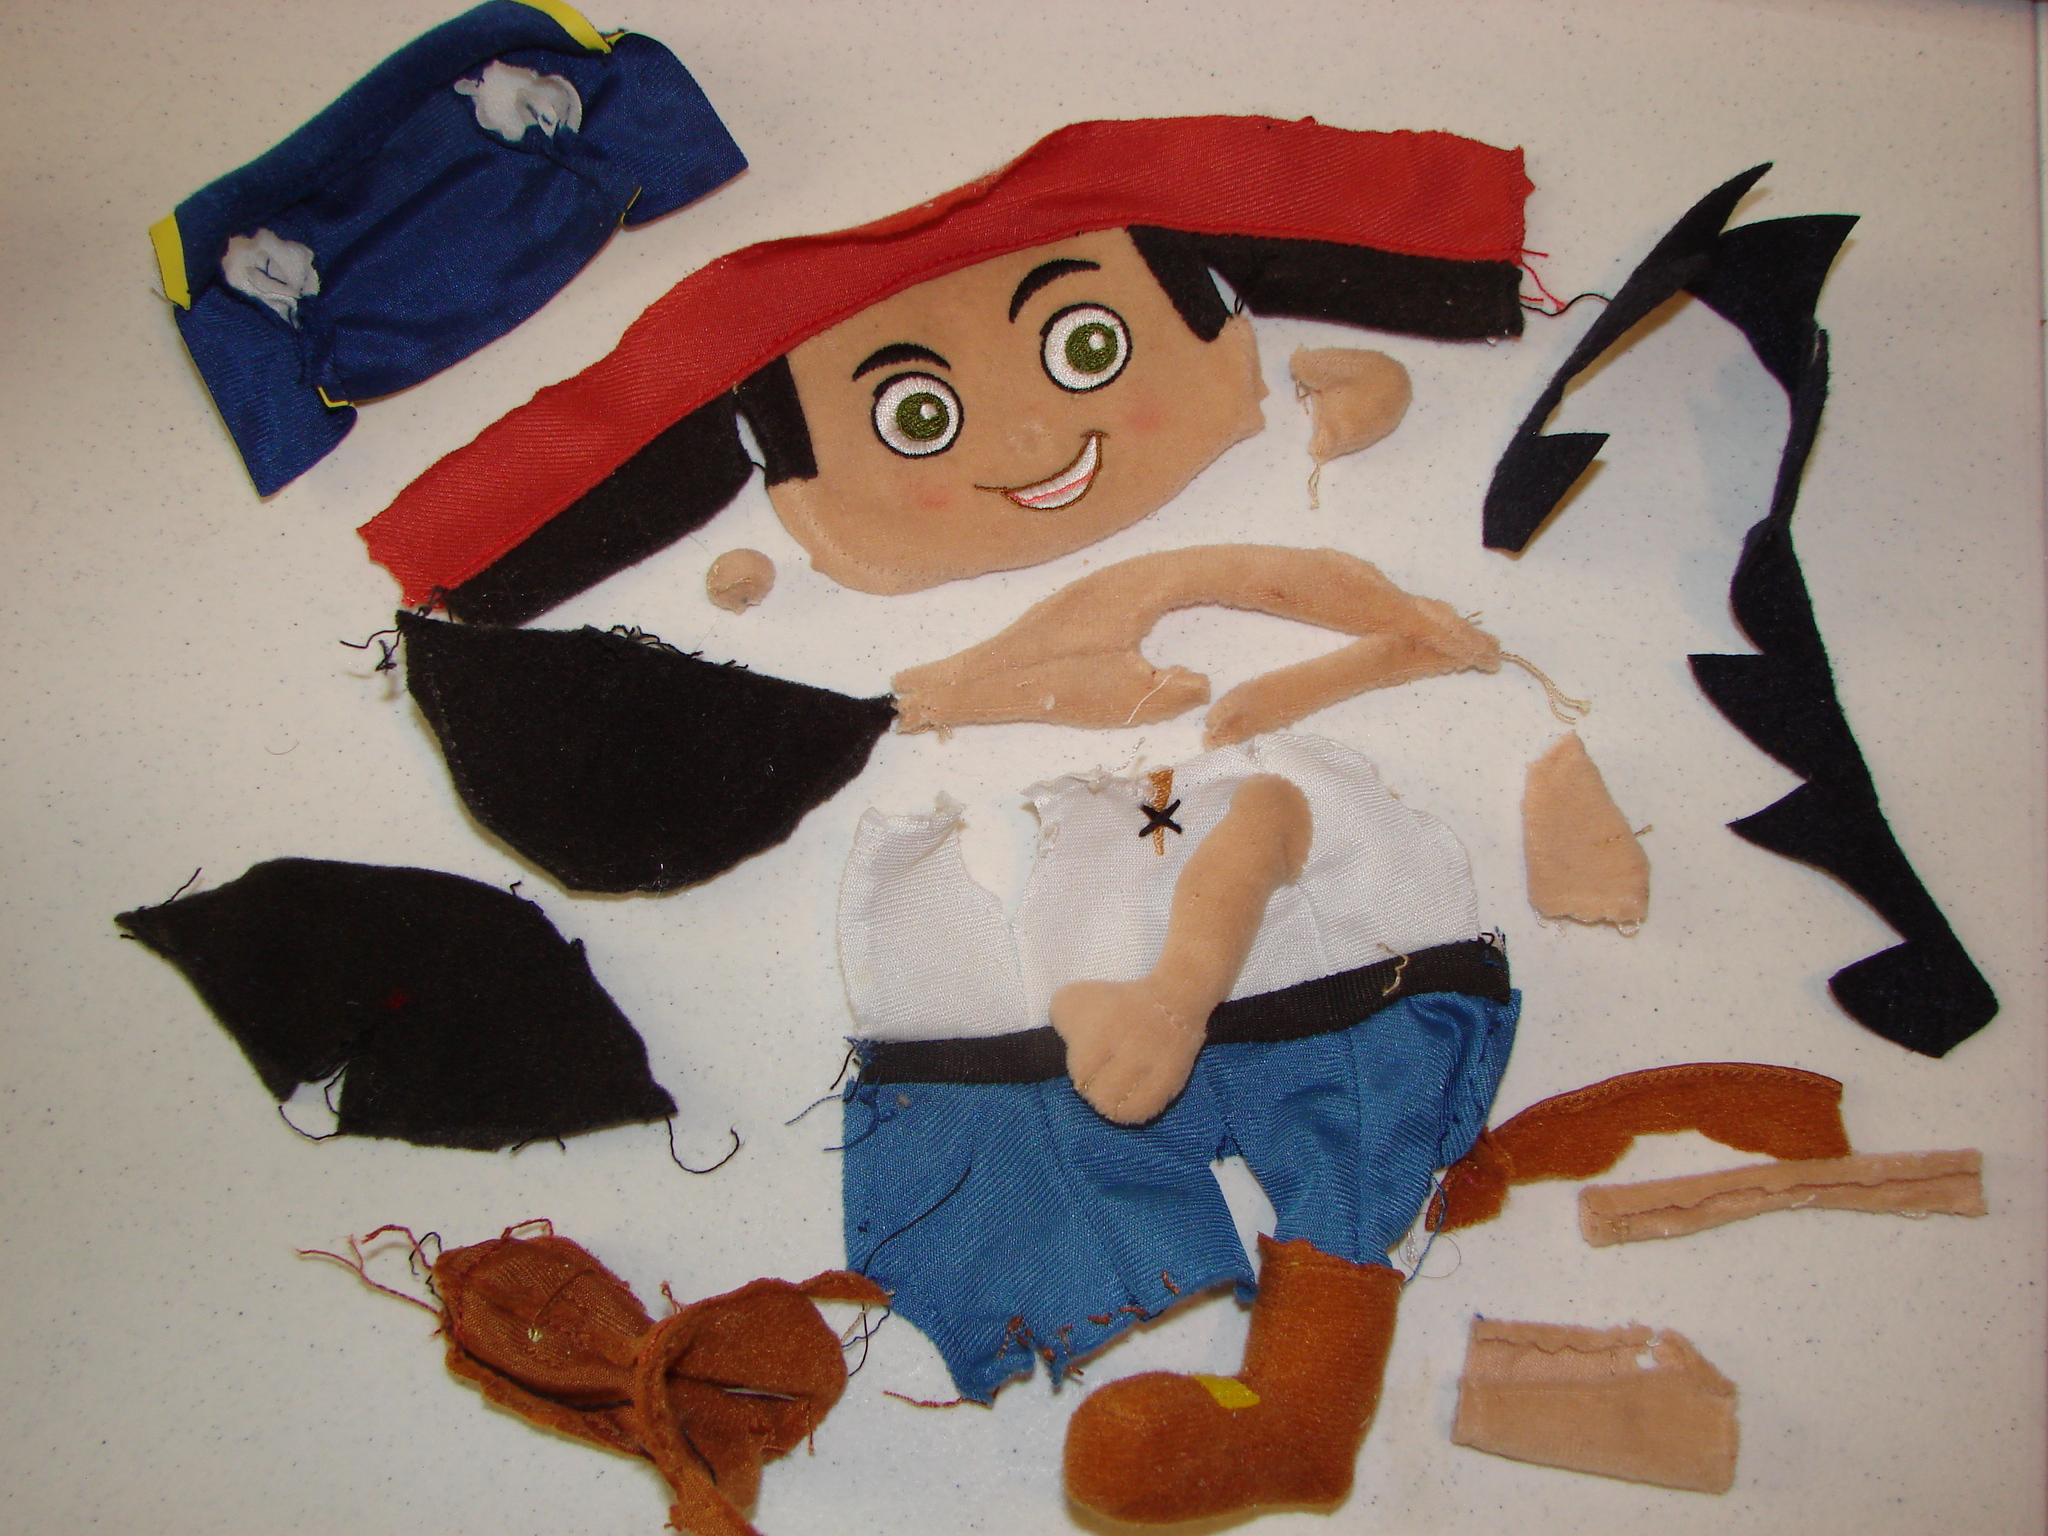
Plushie carnage!
While this process was interesting, the little pieces were tiny and the plushie was a bit different from the one I was envisioning, so I still questioned whether I could make a good pattern. I put the disassembled plushie aside and searched the Internet for free plushie patterns and tutorials. BabyLondonStar seemed to have the most popular version, so that was my starting point.
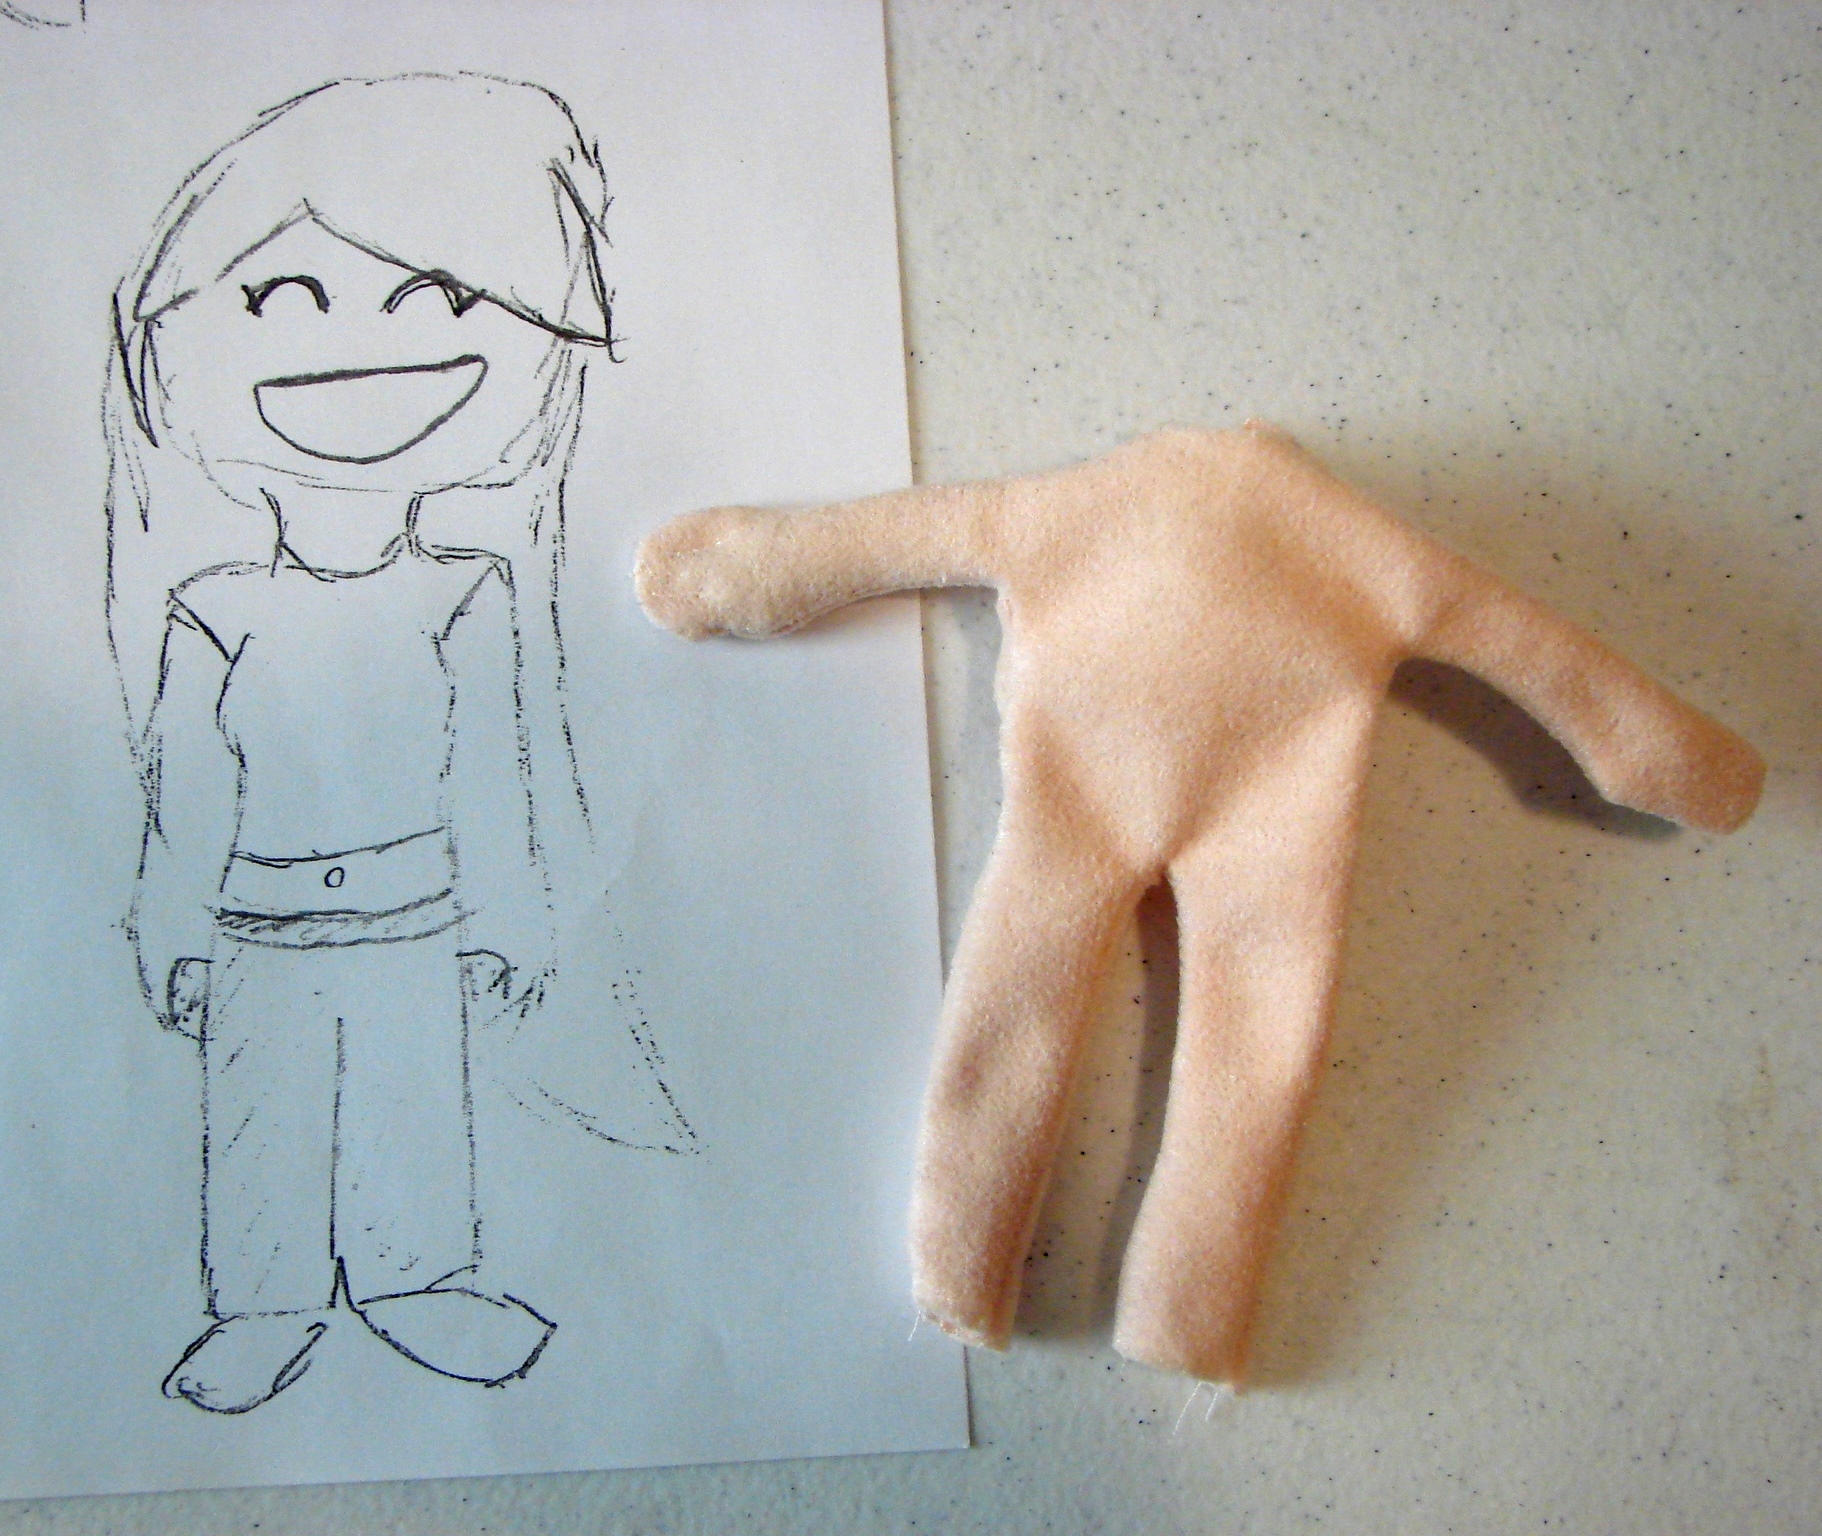
First, I made a plushie (“Fail Number Three”) that was very similar to BabyLondonStar’s original pattern, with the exception of slightly elongated legs. (The head is off because the clothes need to go on before the head is attached.)
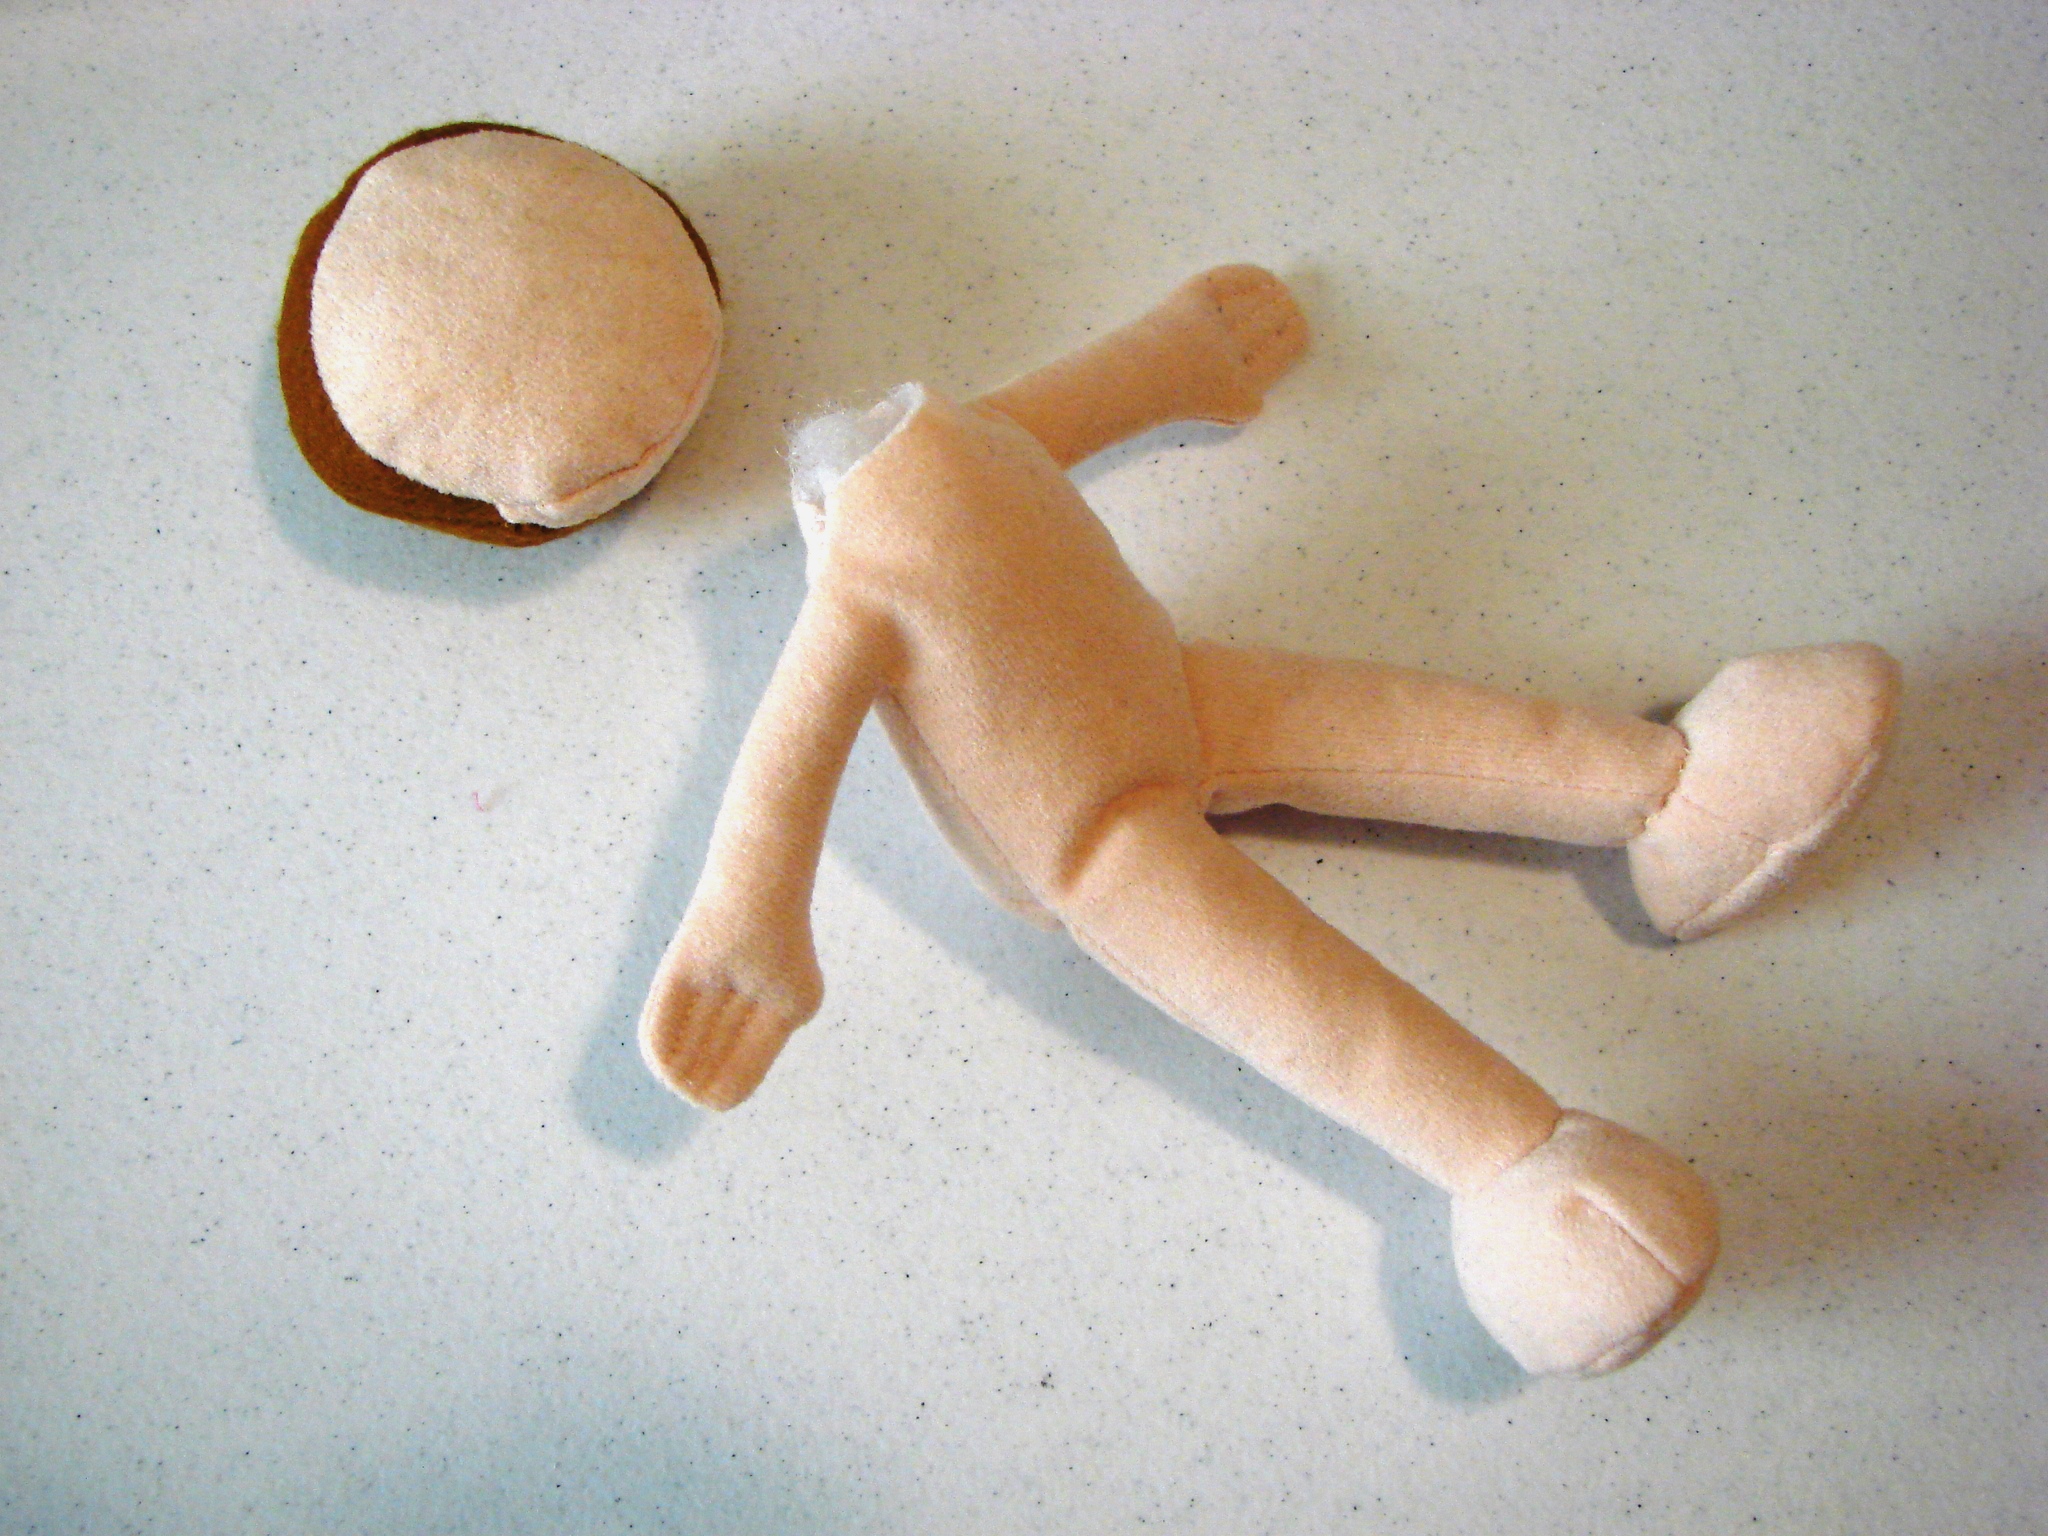
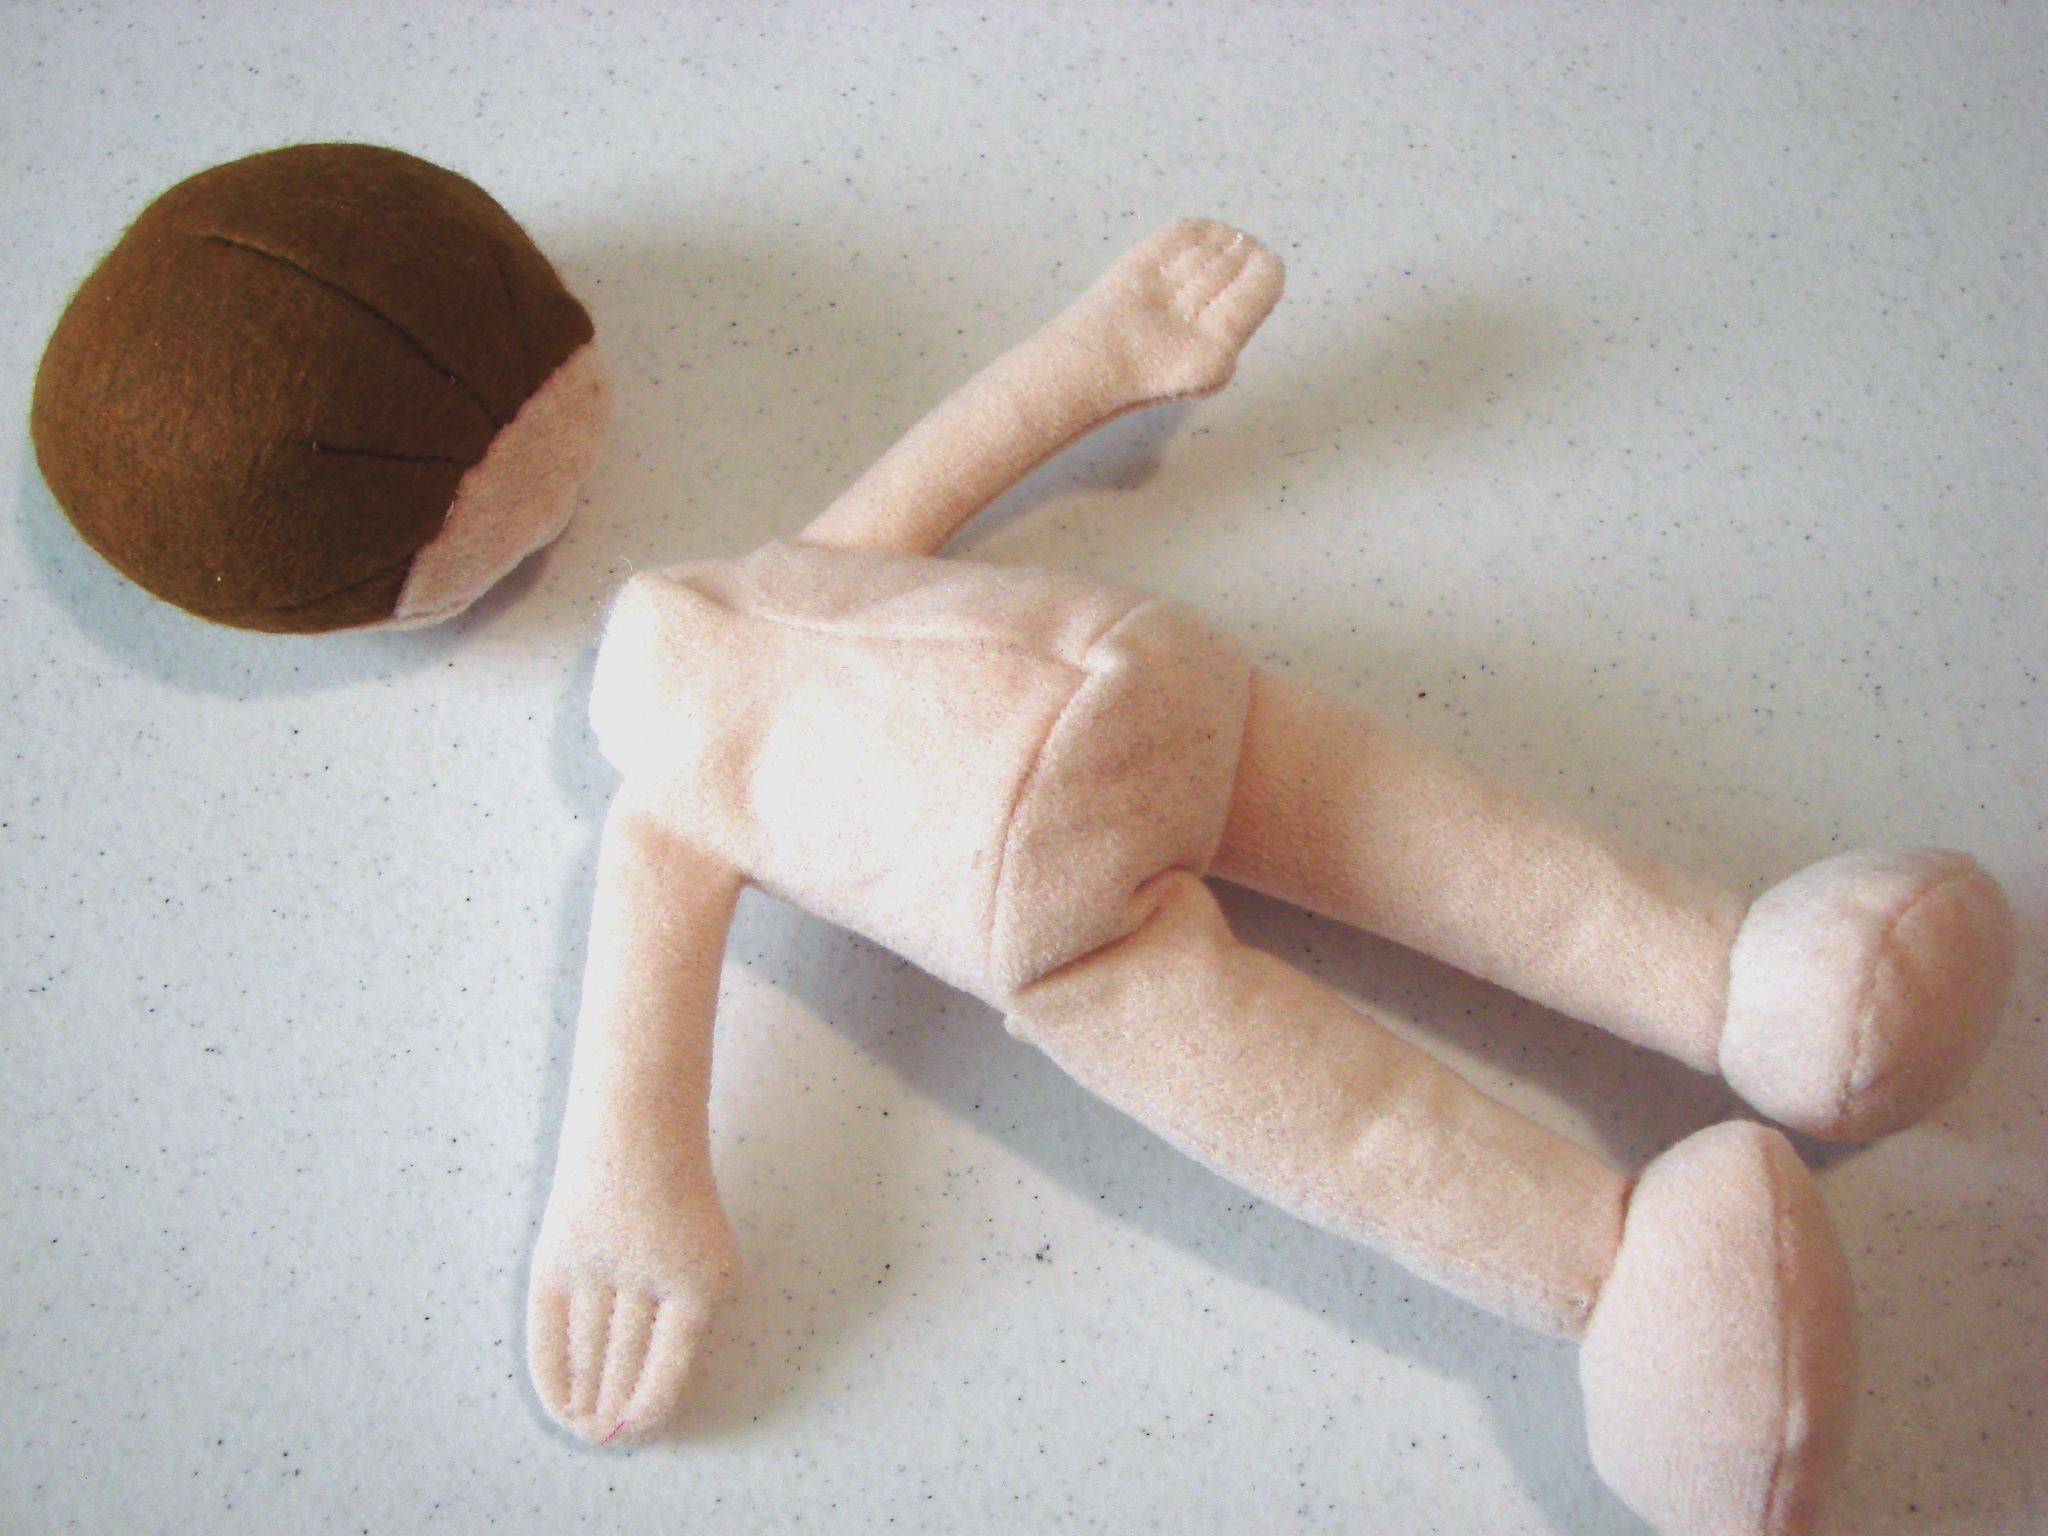
I put some plastic beans in its posterior and its feet. I liked it very much, but my “client”, who had created the original sketch, was less satisfied. So the plushie still needed some changes:
- Longer arms,
- No “fingers”,
- Upward thumbs,
- Smaller feet,
- No beans, and
- Smaller derrière/flatter profile.
So my final version included all those alterations.
A Few Tips
1. Sew all the seams on pieces of interfacing.
These can be cut to the exact shape of your pattern pieces (like a lining), or you can just slip a large piece of interfacing underneath your fabrics when you are sewing and then carefully clip the excess interfacing off, close to the seams without clipping any of the threads. The interfacing will prevent the soft fabric from getting “eaten” or otherwise mangled by your machine.
2. Trim seam allowances.
After sewing a seam, carefully clip away the excess fabric (being careful not to cut any threads). This will remove extra bulk, making it easier to turn pieces inside out, and avoiding bulging seams.
3. Stuff tiny bits at a time.
When stuffing the plushie, don’t be in too much of a hurry. Use pea-sized pieces of stuffing, one at a time, in smaller areas. The more stuffing you add, the firmer your plushie pieces will be. If you want the limbs to be somewhat moveable, stuff a little less at the joints.
4. Consider all your options for facial features.
Many plushies have cute button eyes, or hand-stitched faces. I wanted the face to match the original sketch as closely as possible. So I created some non-fraying fabric by painting a very thin layer or fabric glue on some thin cotton material. (Make sure to put a piece of plastic underneath, while it is still wet.) When it is dry, use some very fine scissors to cut out the facial features and attach them to the face with more fabric glue.
Happy plushie-making!
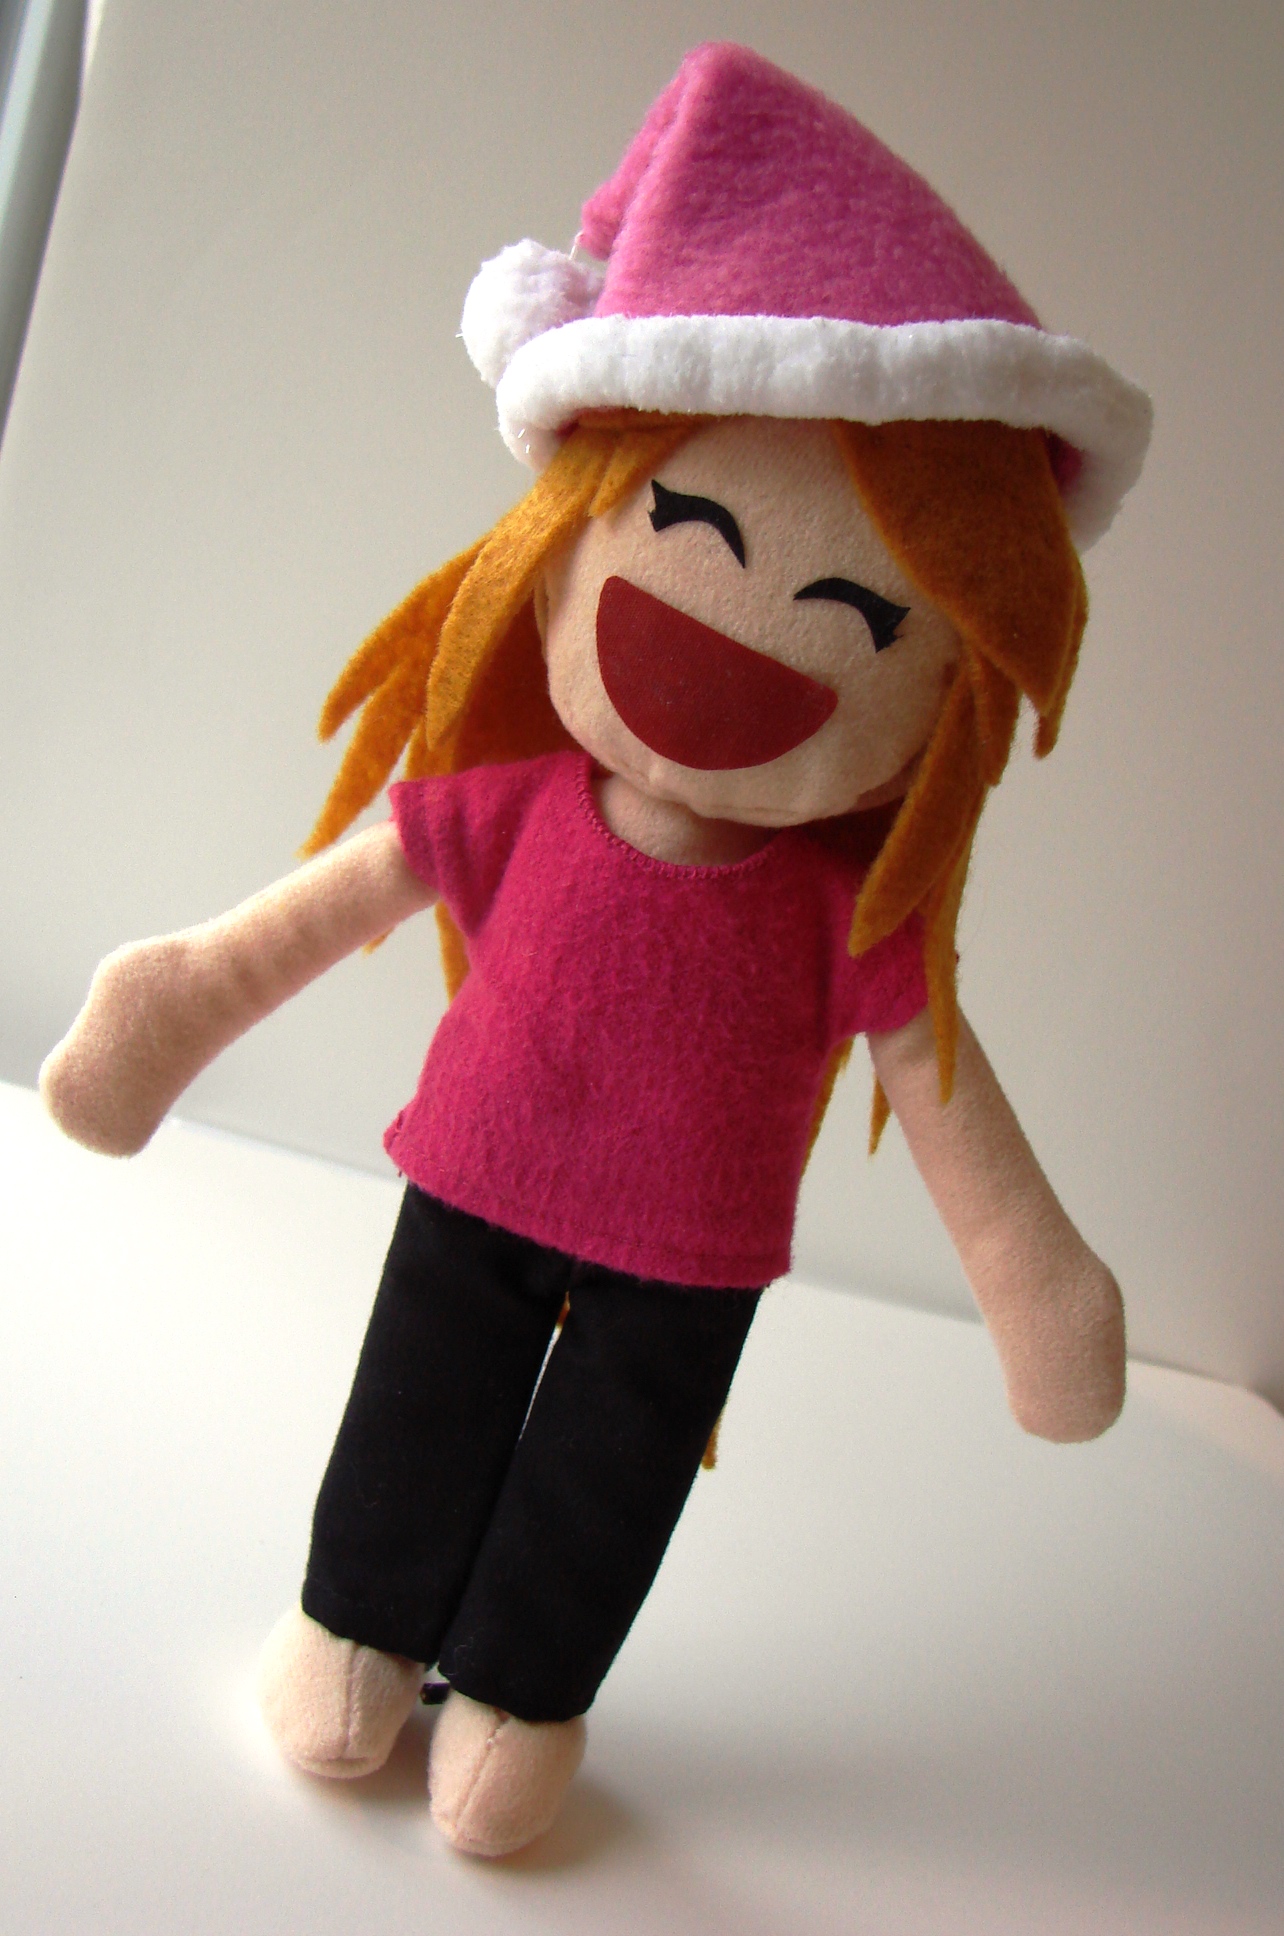
P.S. For the Christmas season, I’ve stitched up a pink fleece Santa hat with sparkly white trim.
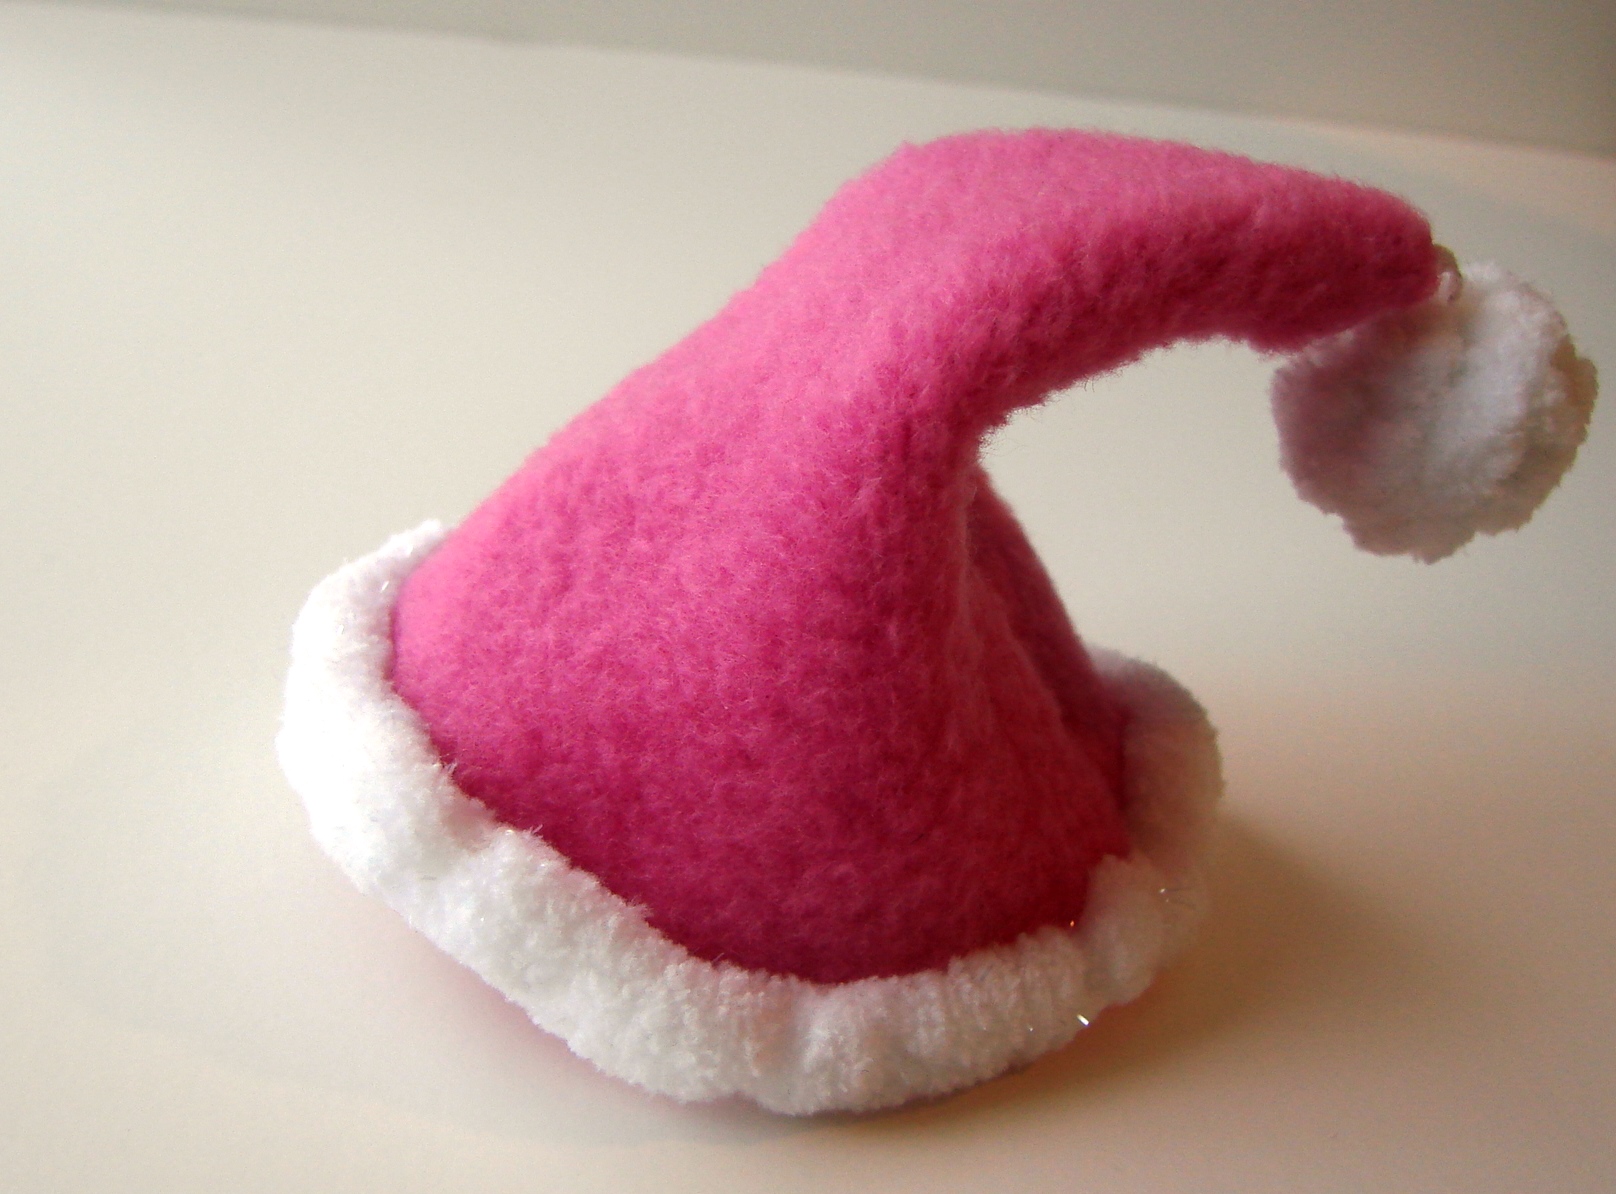
Here is Pink Santa Plushie Girl, all decked out for holiday fun!