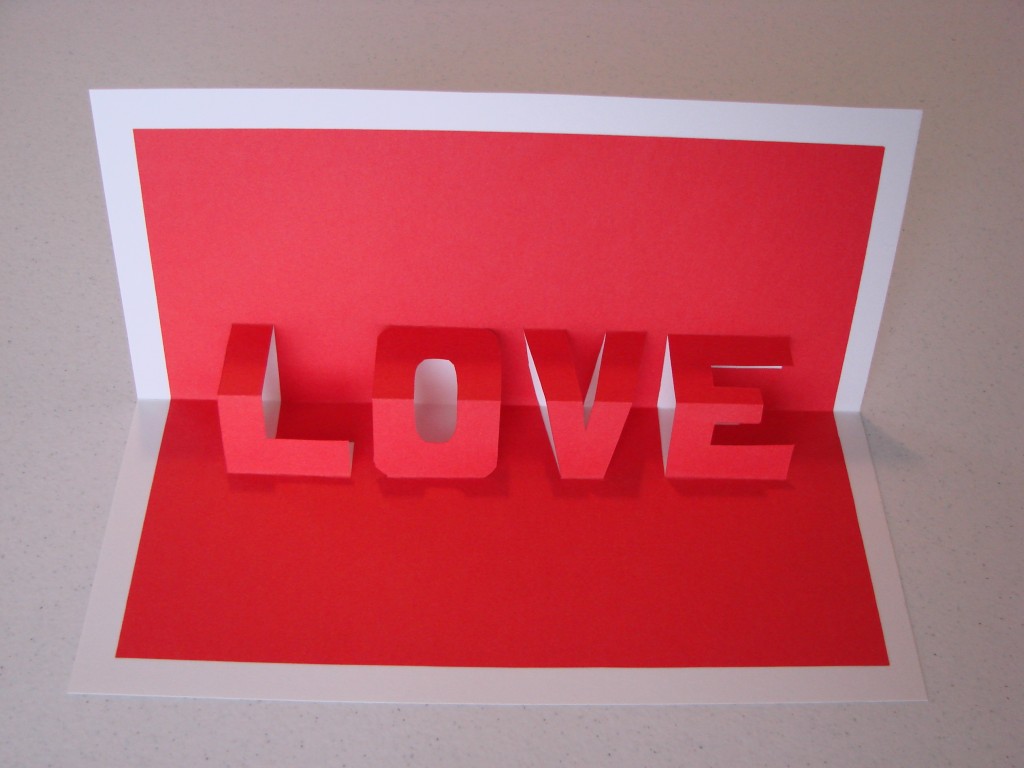
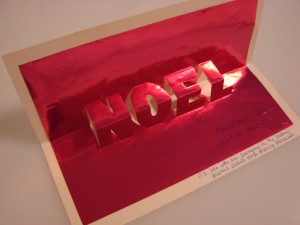
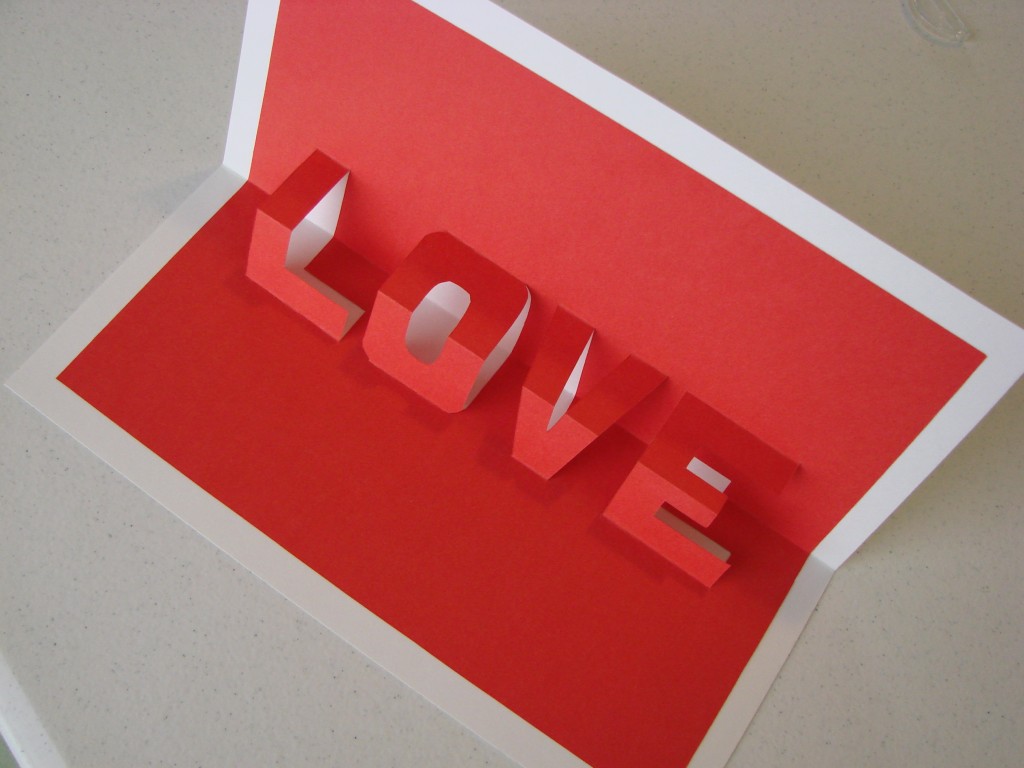
Here is a great Valentine card with a pop-up message (LOVE). I’ll show you how to do the basic technique, and then you can easily adapt the card to express your own message. You can use the card for a variety of different holidays and occasions by changing the one-word message: Christmas (NOEL), Halloween (BOO), New Year (the year), Anniversary (the number of years), Birthday (PARTY or the honoree’s name), etc.
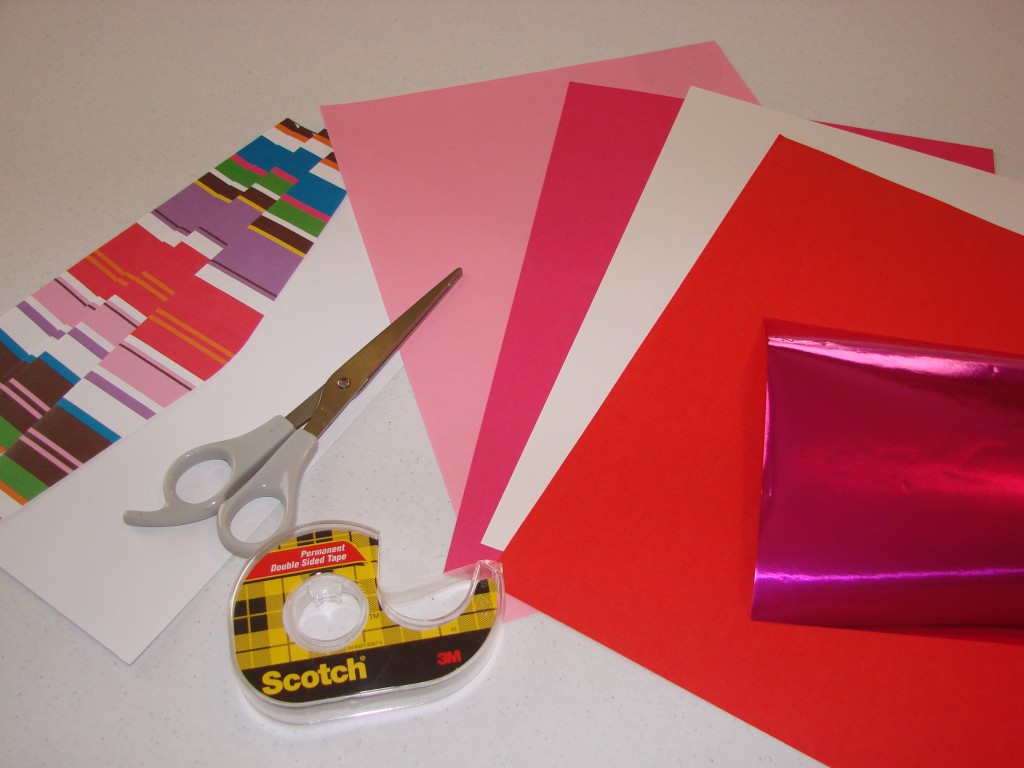
You probably have the materials for this project on hand, without going out to purchase anything. To make your own pop-up Valentine, you’ll need:
- A piece of cardstock
- A piece of paper in a contrasting color
- Scissors
- A craft knife
- Adhesive (such as double-stick tape or glue)
- Pencil
- Ruler
It looks best to use a solid color for the inside of the card. Patterned cardstock would be okay for the outside. One year, I made Christmas cards that had shiny paper (large sheets of foiled Origami paper) inside; that gave a very impressive effect.
First, cut a piece of cardstock (white in my pictures) 8 inches by 9.25 inches and fold it neatly in half so that the resulting dimensions are 4 inches by 9.25 inches. (You can do other sizes, but these dimensions should allow the card to fit into a standard business envelope.) Set it aside for now; this will be the outer layer of your card.
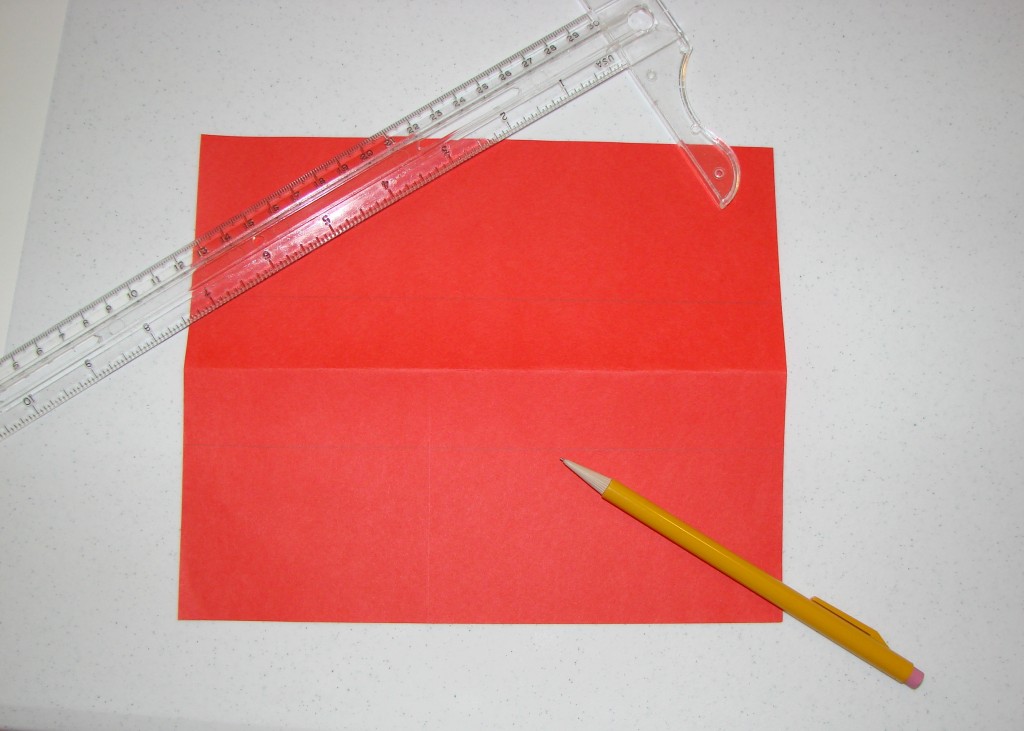
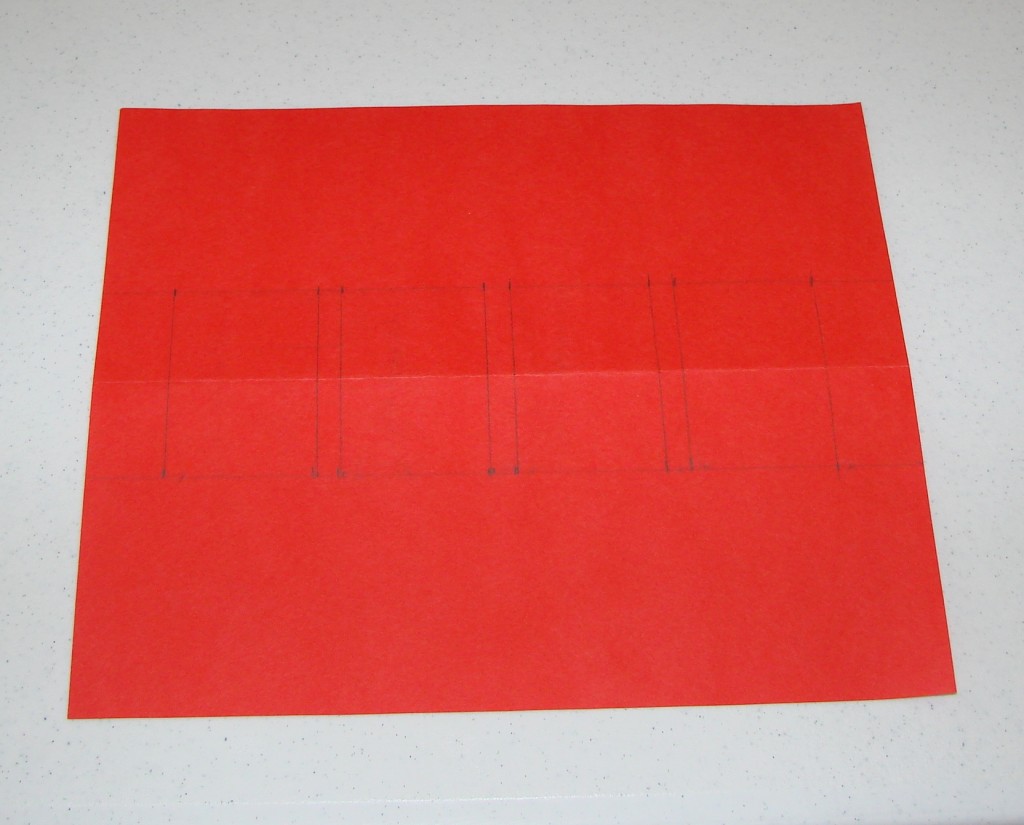
Next, take your contrasting paper (red in my pictures) and cut it to 7 inches by 8.25 inches. Fold it in half so that the resulting dimensions are 3.5 by 8.25 inches. Unfold it and lay it on the work surface so that the fold line is horizontal and is bumping up toward you (mountain fold rather than a valley fold). This will be the BACK SIDE. You will make all your pencil marks here so they are hidden from view.
Draw two horizonal lines, one on each side of the fold and both parallel to the fold. I just lined up the edge of my ruler with the fold, and then drew a line along the other side of my ruler. This made my lines about 1-1/8 inches from the center fold.
These will eventually be fold lines.
Now, you’ll measure for your letters, so that all the letters are a uniform size. The letters are 1.5 inches wide, with quarter-inch spaces in between. So on both pencil lines you drew, mark segments as follows:
Edge space |
Letter |
Space |
Letter |
Space |
Letter |
Space |
Letter |
Edge space |
0.75” |
1.5” |
0.25” |
1.5” |
0.25” |
1.5” |
0.25” |
1.5” |
0.75” |
Then draw vertical lines, delineating the segments.
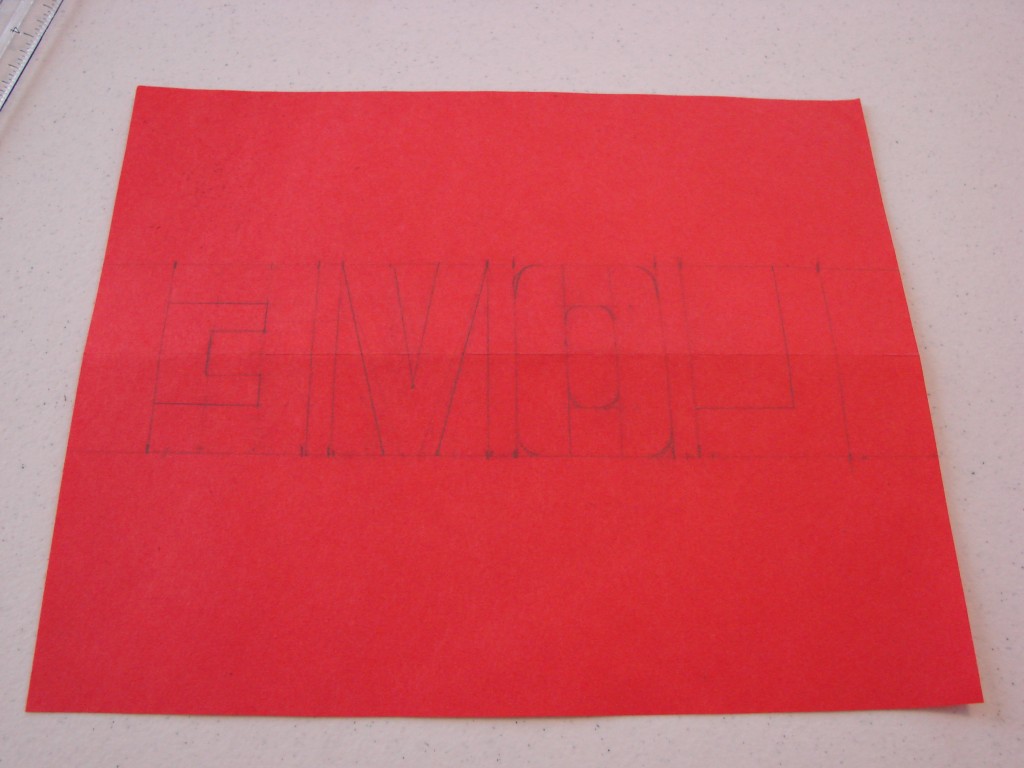
Now you need to sketch in your letters… BACKWARDS. It is important that your letters are a mirror image of the actual word, so that they will come out right when you flip the paper over and attach it to the card. You can use the picture below as a guide. I made the “lines” of my letters half an inch thick, and measured them carefully so they would all be very uniform.
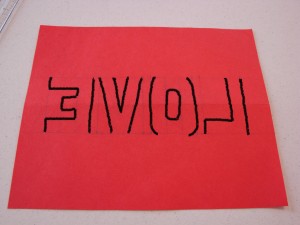
Get your craft knife ready, because it’s time to cut! Remember that the two lines you drew parallel to the center fold are FOLD lines, and should never be cut. Cut all other lines along the edges of the letters, without cutting anything fully out except the center of the letter “O”.
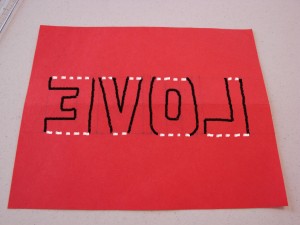
Forgive the crude diagram, but hopefully this gives you more guidance on what to cut. Here is another version of that crude diagram, with white dotted lines showing you where to fold:
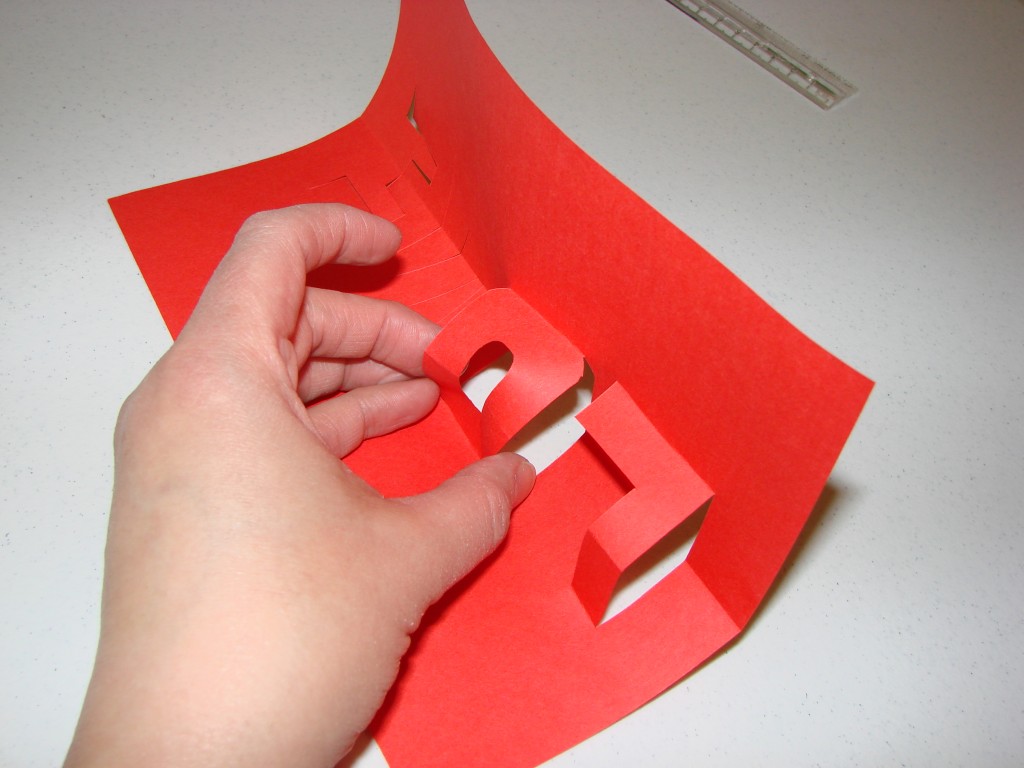
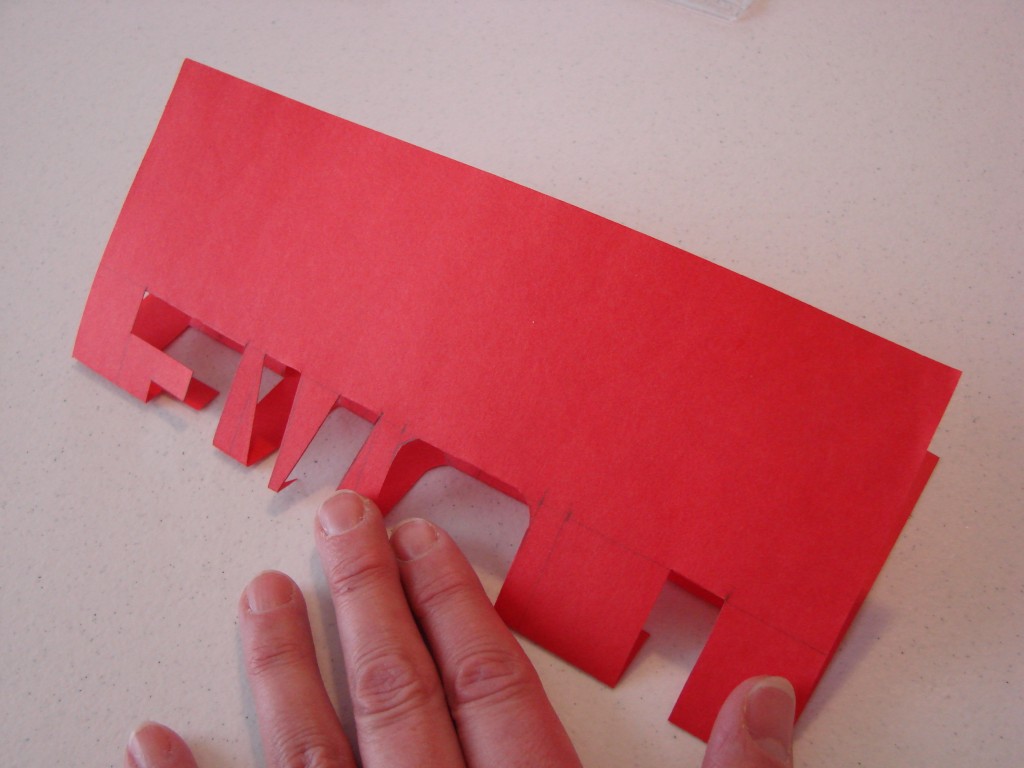
These folds should be in the opposite direction of the center fold. This can be a little tricky; be careful not to tear any of the letters.
Once you have folded each of the letters outward, then fold the whole thing in half (as it will be when the card is closed), to make clean creases.
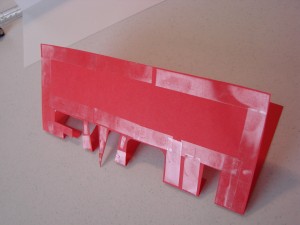
Then put adhesive on ONE side of the back. Be sure that the outer edges and the edges near the letter openings are firm and secure. If you are using glue, it is essential to avoid “slop” or your card may accidentally get stuck together! If you are doing a large quantity of cards, it may help to get a can of spray adhesive. (If so, you would need to shield the letters when you are spraying the background, because you want the letters to move freely.)
Tuck the liner into the card and center it. Try to attach things with the card half-folded; if it is fully open, the card may later resist closure. Press everything down firmly. You will need to get your fingers in there, to make sure all the small parts are secure.
Then repeat on the other side.
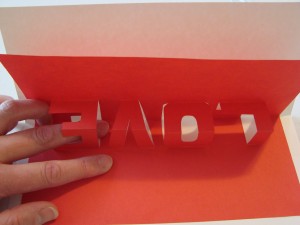
TA-DA! Your Valentine is done, all ready to present to your sweetie.
As I said before, you can adapt this card for a variety of different messages: LUVU, ILY, I<3U, etc. Just make sure the word inside isn’t too long, and that your open card is more than twice as tall as the height of your letters.
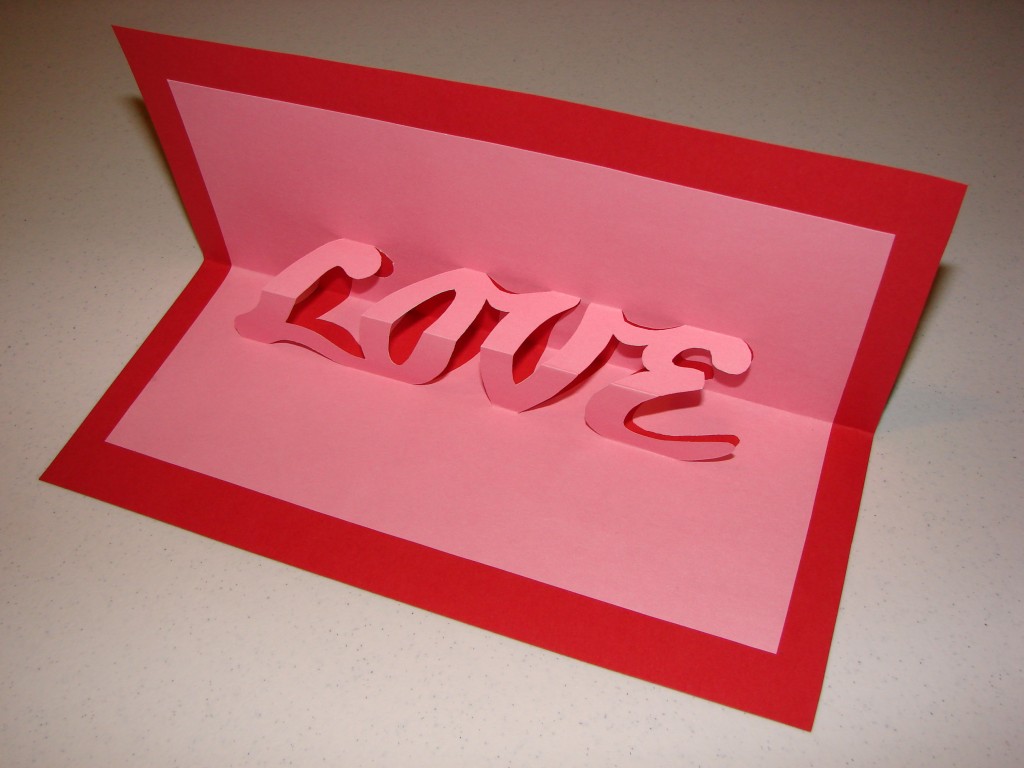
Here is another variation, with cursive lettering:
Happy Valentine’s Day!
P.S. If you like pop-ups, check out the spiral pop-up card, too!





The best step-by-step illustrations & instructions I’ve ever had the pleasure of reading/following. Thank you for taking the time to be clear. I’m looking forward to making this for my husband.
love that
[…] Love Pop Up Card from Craft Crossing […]