Spiraling swirls of hearts and flowers
My husband, Bill, and I have been married many years, and he is not only my True Love, he is also my dearest friend. The other day, I was reminiscing about our romantic courtship and the early years of our marriage. We didn’t have much money back then, but we did have an overflowing, joyful love!
One Valentine’s Day, unable to afford fancy restaurants, fine wine, or gourmet chocolates, I decided to surprise Bill with something different. We worked different schedules, so one day when he was at work, I spent hours and hours cutting out red and pink hearts of all different sizes, taping them to threads of various lengths and hanging them from the metal frame of the drop-ceiling of our (El Cheapo) rental home.
When he came home, he was greeted by hundreds of paper hearts, fluttering above his head. The breeze from the front door set all the tiny hearts in motion, and they spun and twirled before his eyes.
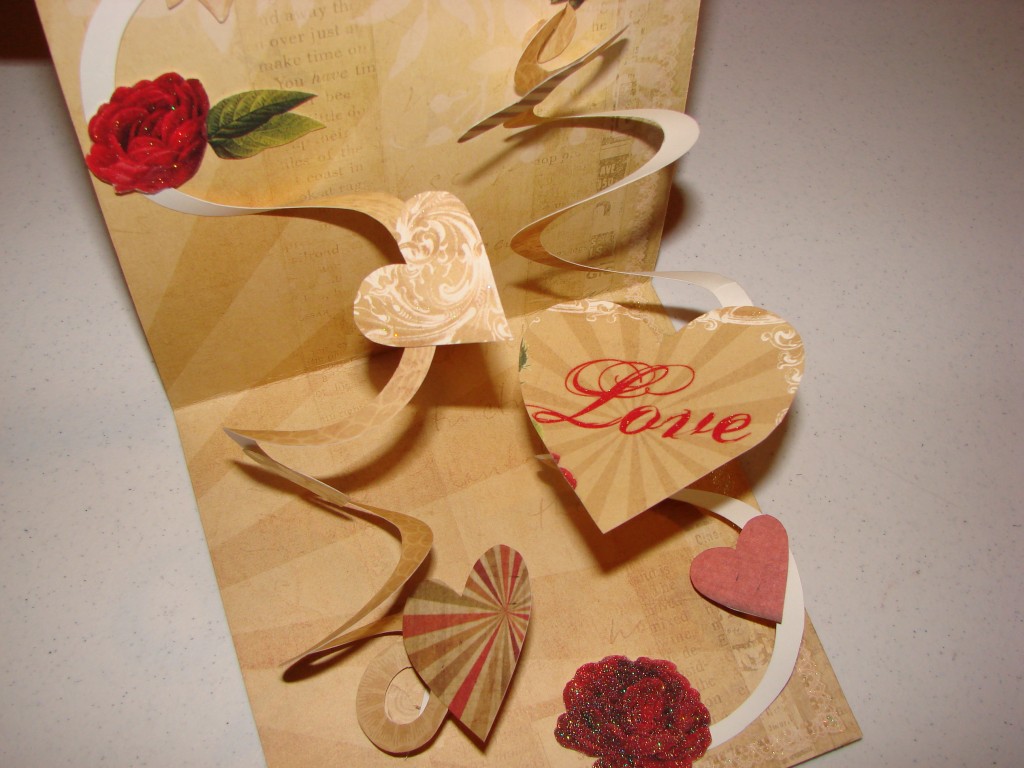
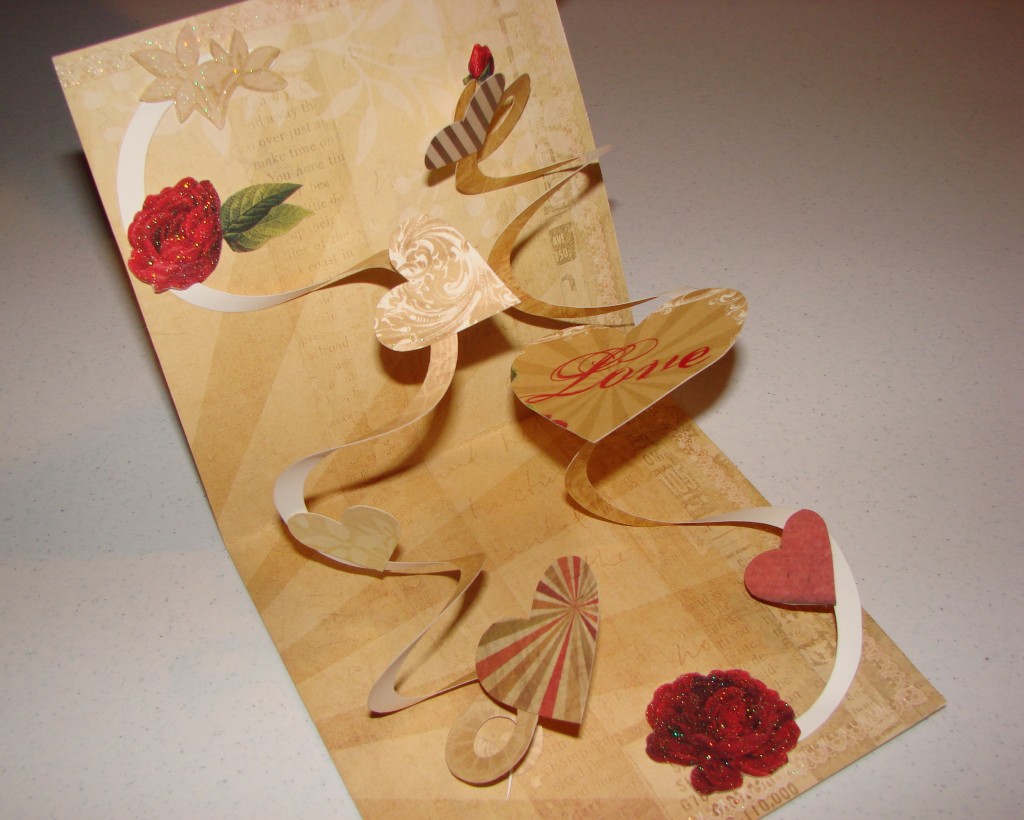
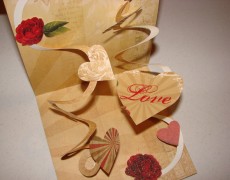
This pop-up card reminds me of that passionate, effusive display. When you open it, the hearts inside spring to life.
Of course, the card can be adapted for a variety of occasions. It is particularly well-suited to celebrations (birthdays, congratulations, etc.) because the spirals look like party streamers.
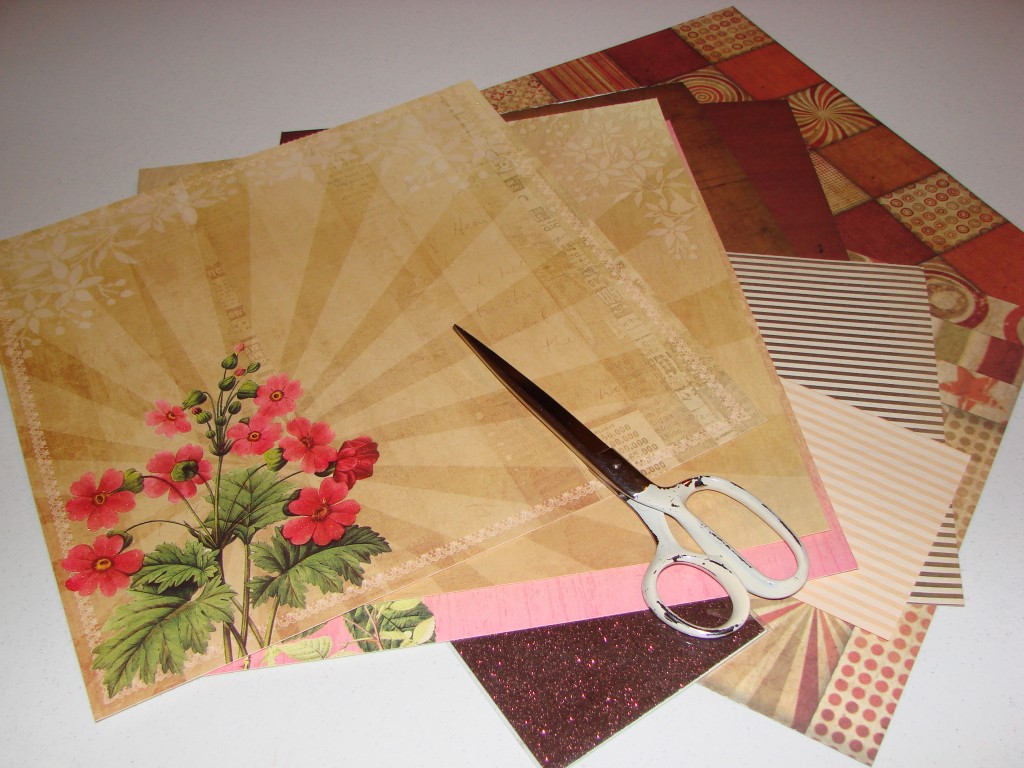
To make your own spiral pop-up card, you will need …
- Scrapbooking cardstock (12 x 12, several coordinating sheets),
- A ruler,
- Scissors, and
- Glue dots (tiny ones), double-stick tape, or glue.
Step 1: Cut the cardstock into 2 equal pieces.
Measure six inches from the edges of the paper, and draw two pencil lines — one across the middle horizontally, and one splitting the page into 2 equal pieces vertically. The vertical line will be a cut line, and the horizontal one will be a fold line.
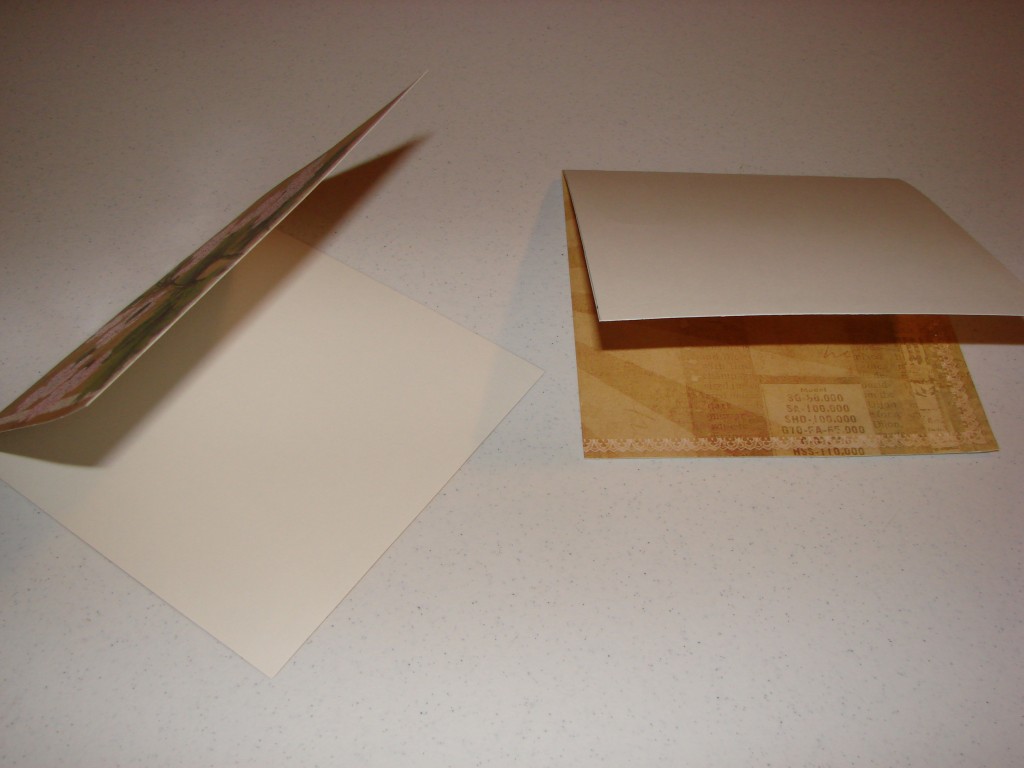
If your scrapbooking cardstock is double-sided, just score and fold the one piece you want to use, and move on to Step 2. If, however, your cardstock is blank on the back (like mine), you’ll need to score and fold both pieces — folding them in opposite directions —
…and then stick them together so that the pretty side shows, both outside and inside.
Step 3: Cut the inside pieces.
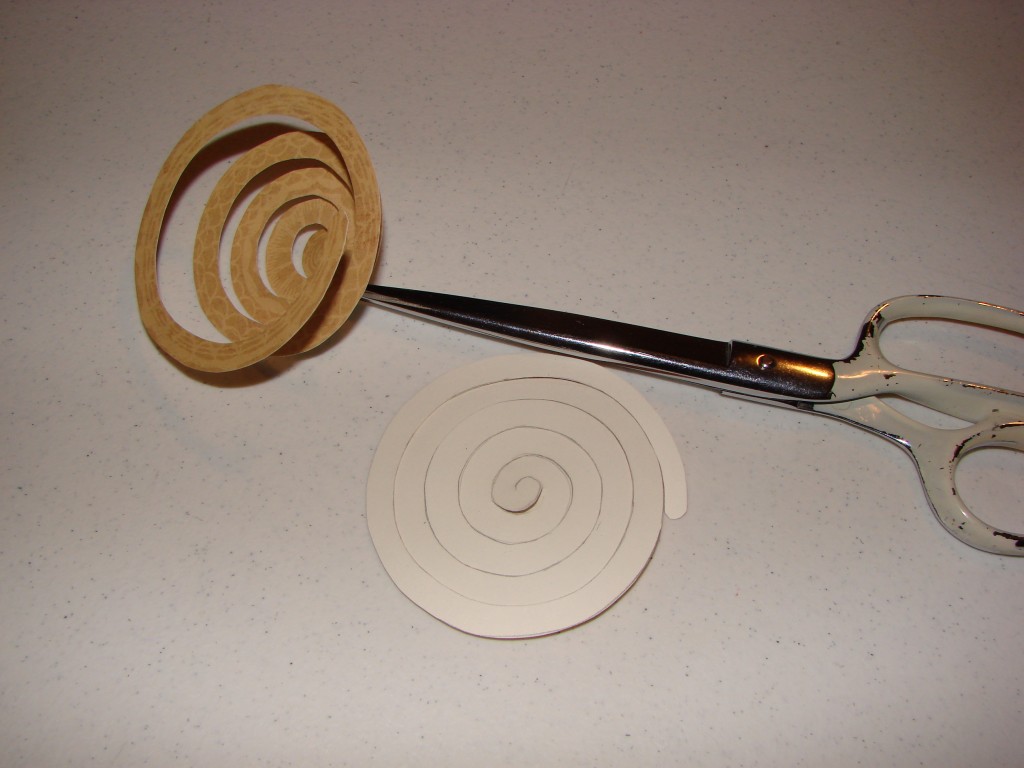
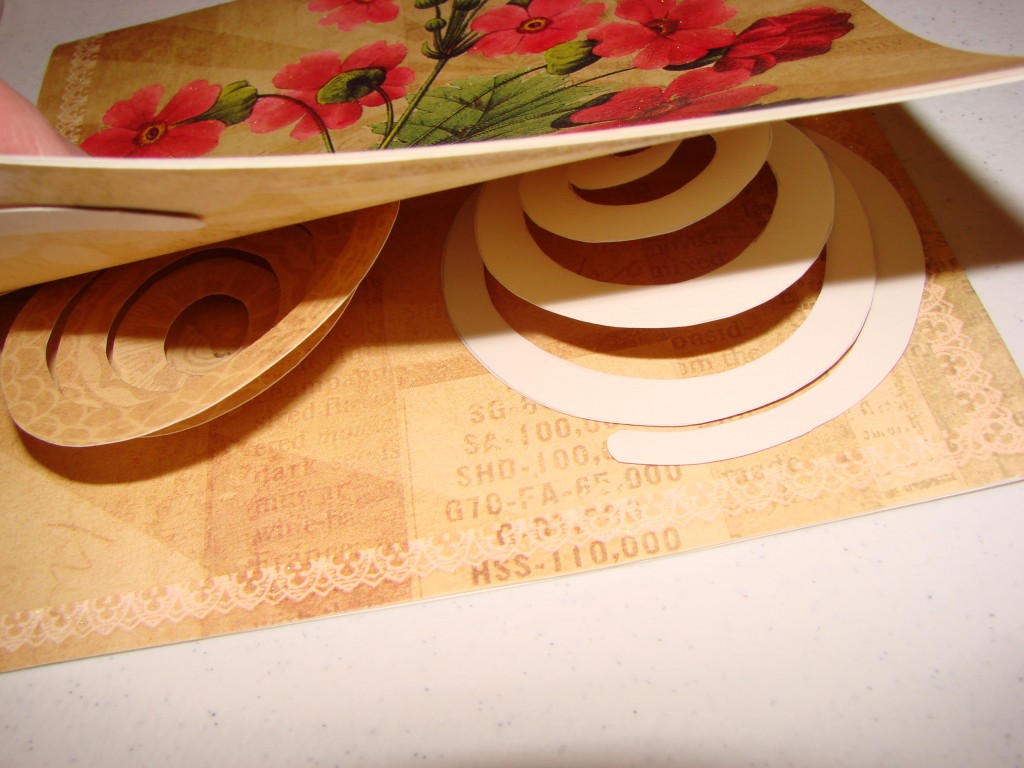
Start by cutting 2 large spirals out of cardstock, a little less than half the width of the card. Because my card was 6 inches wide, my spirals were about 2-7/8 inches wide. I just drew mine free-hand, but if you Google “spiral” and do an image search, there are many images you could use as a cutting template. (Enlarge or reduce the image, to make it the right size for your card.)
Your spiral needs to have 4-5 nested circles. More is not necessarily better. Each arm of the spiral needs to be sturdy enough to hold one of the smaller pieces, and to withstand repeated stretching (when the card is opened and closed.) Each arm also needs to be wide enough to hold one of the tiny glue dots without it extending over the edges.
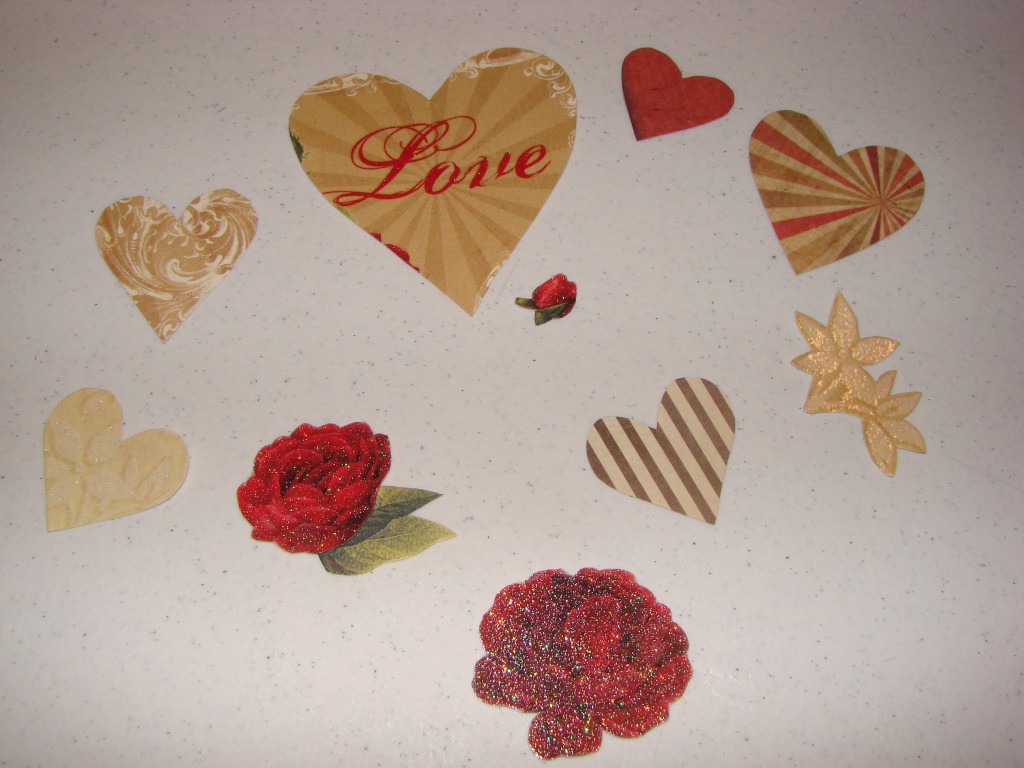
Next, cut 8 – 12 shapes (hearts, flowers, butterflies, etc.), ranging in size from 1/2 inch to 2-3/4 inches.
Step 3: Assemble the card.
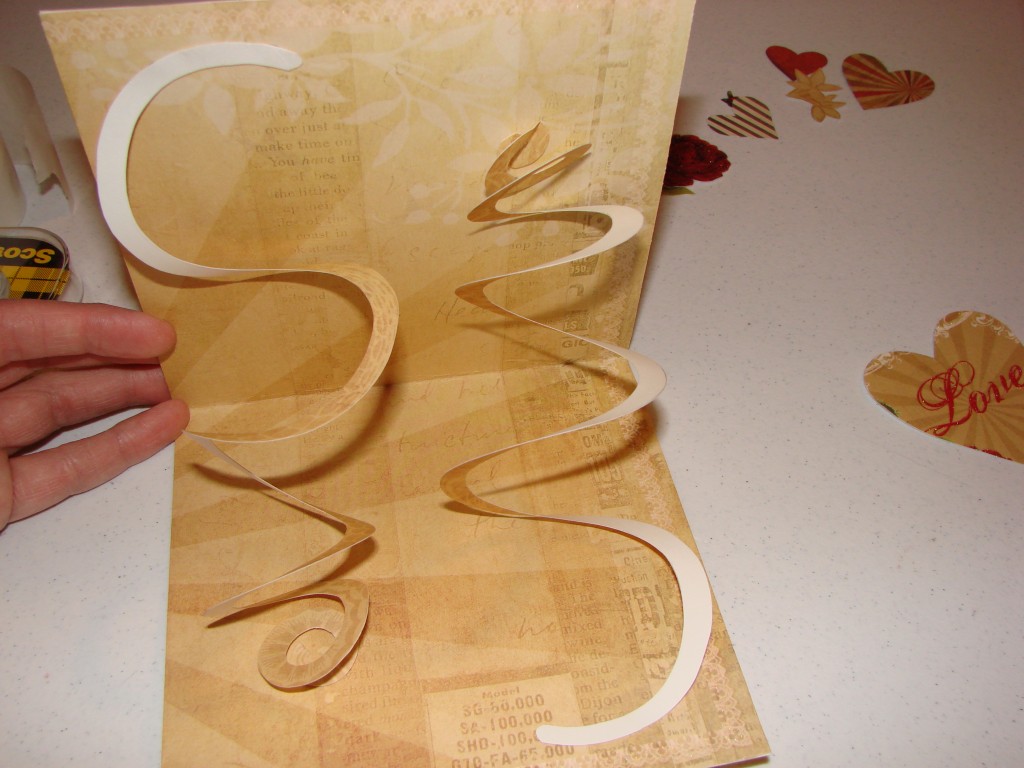
First, attach the spirals. They should be mounted side-by-side, near the front edge of the card.You’ll only use 2-3 glue dots — one at the center (on the back/unpatterned side of your cardstock) and two near the end of the outer-most ring (on the front/patterned side of your cardstock).
They should go in opposite directions. So on mine, the spiral on the left side of the card spirals downward (large ring attached at the top; center attached at the bottom) while the right-side spiral goes upward (large ring attached at the bottom and center attached at the top.)
Open and close the card a few times, to make sure the spirals freely expand and contract. I put a little crease near the center of each spiral, which seemed to make the spirals open more easily.
Next, randomly attach your small decorations to the spirals and the inside of the card.
With the card open, decide where to place one of your decorations. The card needs to be open when you make these decisions, because the hearts will twist a little and you want them to be fully visible when the card is completely open.
Attach your shapes with ONE glue dot, making sure that the glue does not stick out over the edge of the spiral (otherwise, your spiral will stick to the card and will not open properly.) Also make sure that the shape does not stick over the outer edge of the card — you don’t want any of your decorations to show when the card is closed.
Because the spiral closes to a flat shape, the pieces you attach to it will also lay flat when the card is closed, even if they twist up at an angle when the card is opened.
Keep opening and closing the card to test it, as you go along. That way you can be sure the pieces all move freely.
When all the decorations have been placed…
Voila! Your pop-up Valentine is all ready for your inscription, and for presentation to your sweetheart.
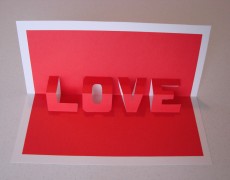
If you like pop-up cards, be sure to check out my Pop-Up Word Card, too!
