How to make a sweatshirt scrapbook
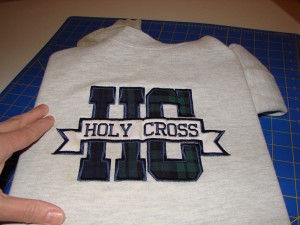
The other day, I was sorting through some old clothes to donate to charity, and I ran across a sweatshirt from my son’s elementary school days. On the one hand, it seemed silly to keep a child-sized sweatshirt when my son is now in high school, and stands over six feet tall! On the other hand, I’m rather sentimental and couldn’t just give it away, either.
I took up scrapbooking fairly recently, and have started to look at everything in the household as potential scrapbook fodder. Why not transform the shirt into a scrapbook cover, to hold pictures and memories from his elementary school days?
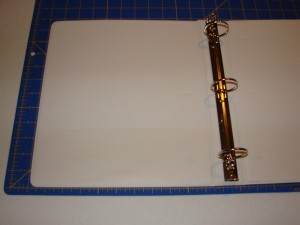
I found an old 3-ring binder. When I tucked it inside the shirt, it looked like it might work.
So I pulled out my trusty cutting mat and measured it more precisely.
The binder measurements were:
- Height 11.75 inches
- Width of the (closed) cover 10.5 inches
- Width of spine 2 inches
Then I measured the shirt. It was 16.5 inches across, which would give me an overall fabric width of 33 inches. That seemed like enough. I’d only need 23 inches to cover the open binder edge to edge (front and back covers and spine), which would give me 5 extra inches on each side, plenty to create flaps. Good to go! So I trekked off to my local fabric store to get a few supplies:
- 2.75 yards of 1.5-inch satin ribbon in a color that cordinated with the emblem on the sweatshirt.
- 1/2 inch fusible tape (My sewing machine is not accessible right now, so I was shooting for “low sew” options. I used “Steam-A-Seam2” double stick fusible web, but there are several brands available.)
I have quite a trove of thread, but if I didn’t, I also would have needed to buy thread in two colors: the color of the shirt, and the color of the contrasting ribbon border. For this project, you also need:
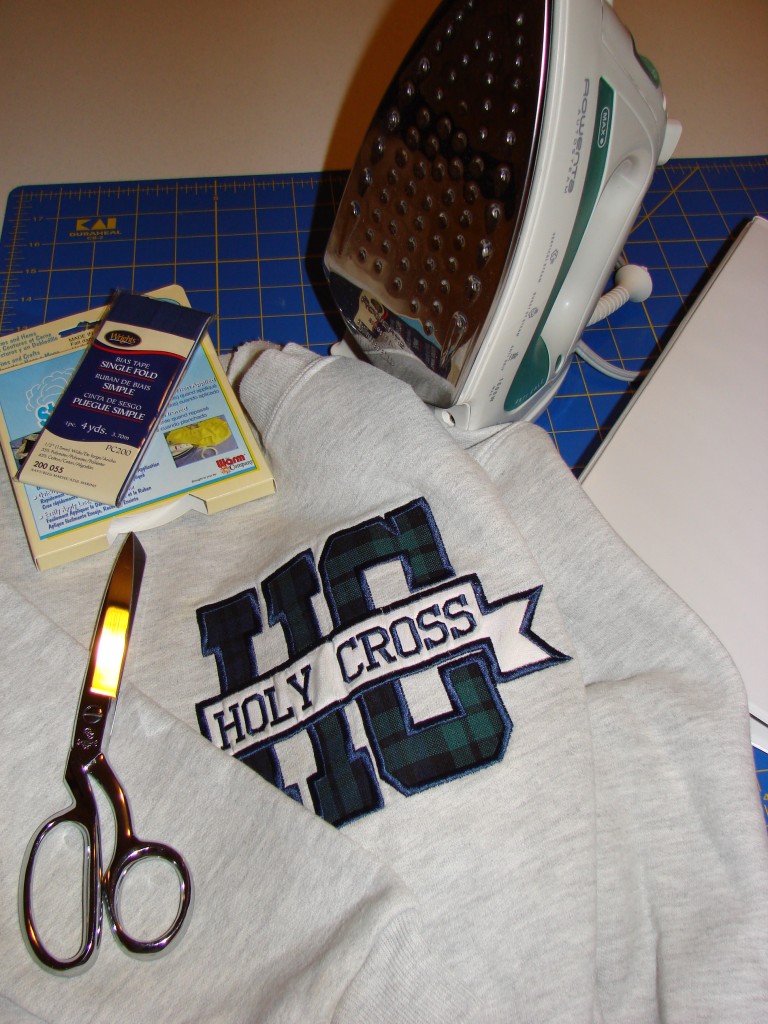
- an iron and ironing board
- a pair of good, sharp scissors
- a serviceable needle, and maybe a thimble.
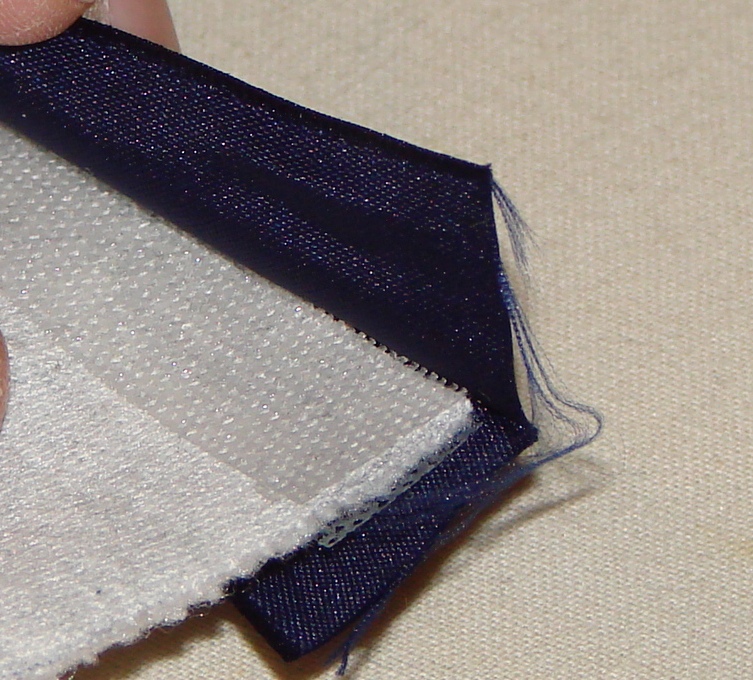
In the picture, you may notice there is no satin ribbon, but instead bias tape. You can use bias tape instead of the ribbon, as was my original plan. But I bought the wrong kind, and when I went back to the fabric store, I saw the ribbon on sale, so I decided to use that instead.
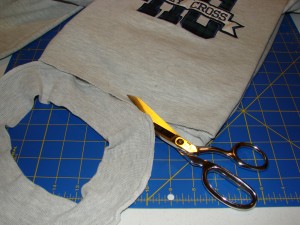
Okay… it was time for the moment of truth! Time to start cutting! It was hard to make myself cut up that shirt (did I mention that I’m sentimental?), so I started by just cutting off the band on the bottom.
Whew! That was not too bad. Hey, back in the 80’s I used to cut the waistbands (as well as other parts) off my shirts all the time and thought they looked SO COOL that way… Next, I went to cut up the side, and realized there was something important I’d forgotton to address: the sleeves! I ended up losing a couple of inches– instead of cutting straight up the side, I moved over a bit so I’d avoid the sleeve hole (and then up the shoulder through the neckband).
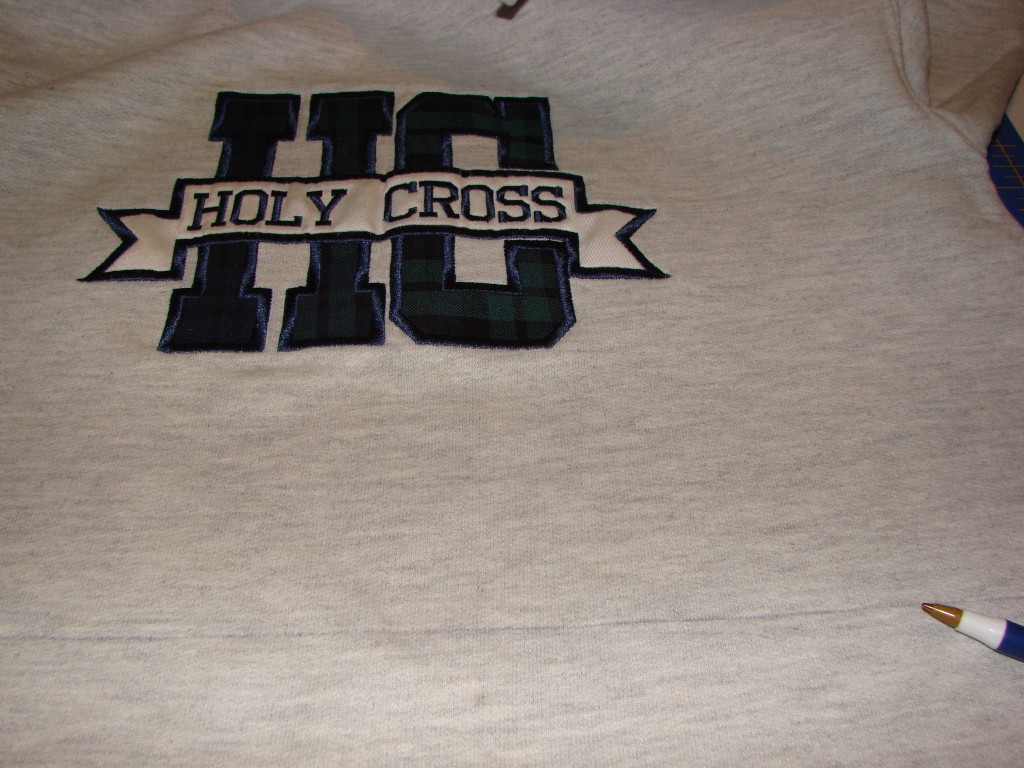
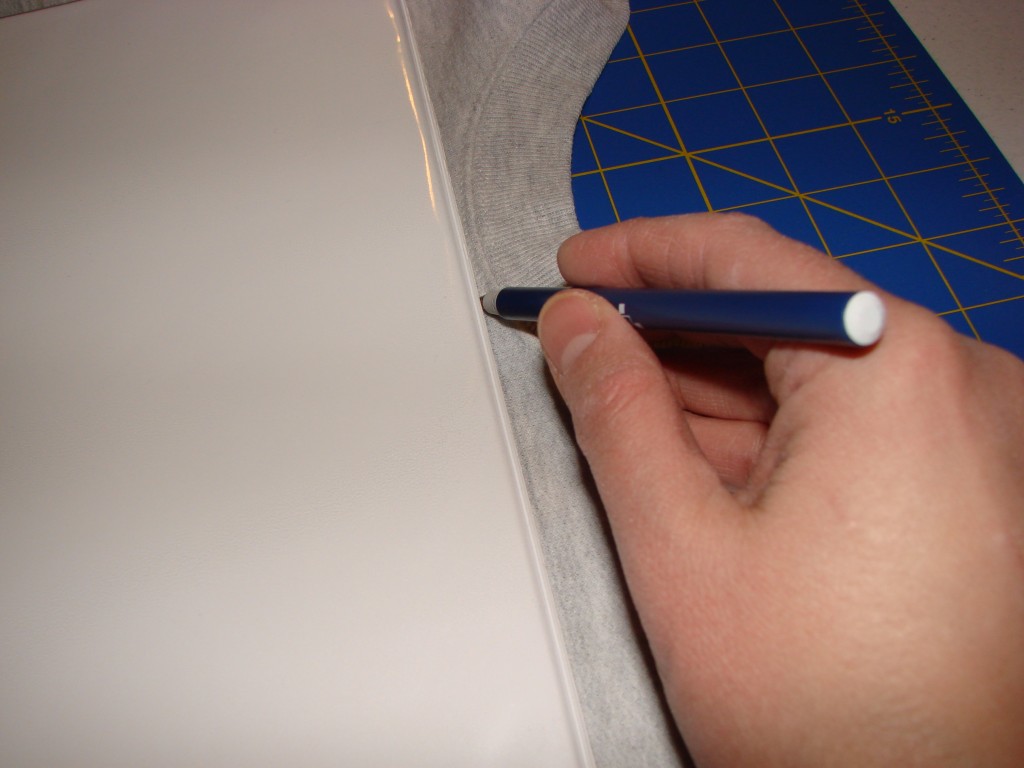
Be sure to cut the correct side (to the right of the emblem, if you are facing it) and to cut straight. I used a metal ruler and drew a line with an ink pen, before I started cutting. (You can use a fancy sewing marker to make the lines, but it really doesn’t matter if your ribbon is a dark color; the ribbon is going to cover everything up.)
After that cut, you should draw a similar line and make a similar cut just an inch or two away from the first one. Just far enough to cut the sleeve completely off, and to leave you with two straight ends.
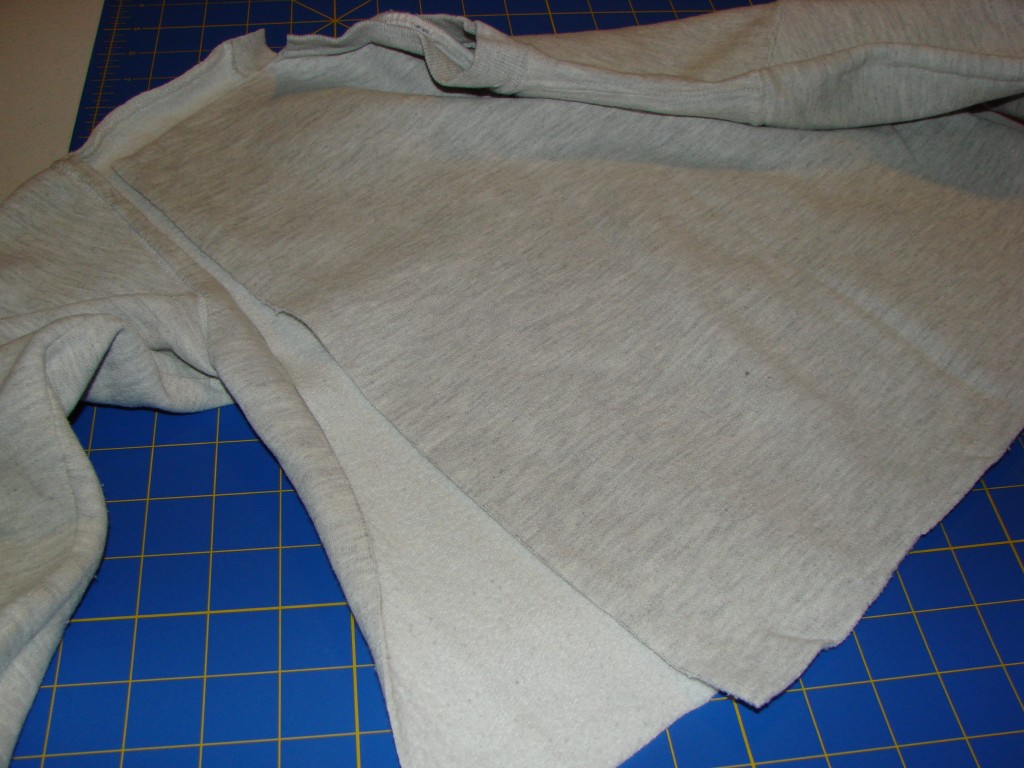
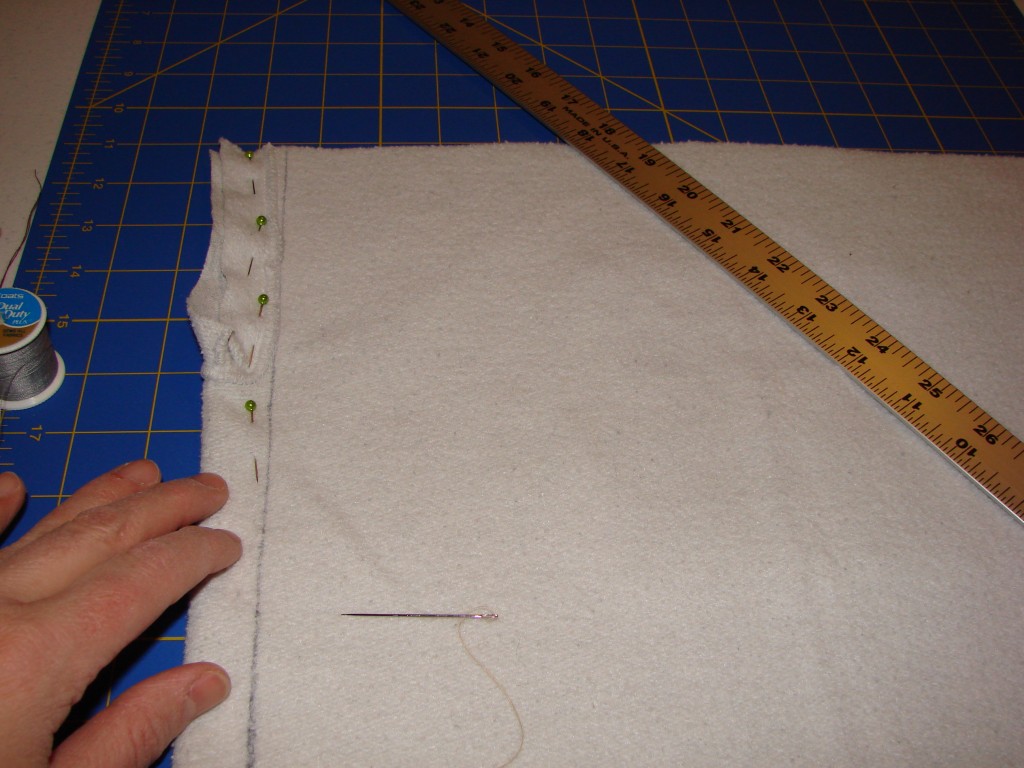
Now there is that other pesky sleeve to remove… I started by turning my “fabric” wrong-side-out and folding it right up the side, right along the underarm. Then I pinned it in place and drew a straight line. I sewed along the line, and then cut off the excess+sleeve.
(Side-note: I wish I had left a little space between my sew line and the edge of the sleeve… My seam now won’t lay flat because the thick seams that held the sleeve in place, make my seam bulge. If I’d left myself an extra quarter-inch, I could have cut all the bulky stuff off. )
At this point, I had one continuous piece of fabric, from which to cut out the shape I needed for my scrapbook cover.
I took my metal rular and my ink pen and drew a nice, straight line along the bottom of my fabric, making sure that the emblem lined up correctly and looked straight, so it would not look crooked on the finished piece. (If you want, you can measure to be sure your emblem is perfectly centered, but I didn’t bother.) Then I cut along that line.
I opened out the binder and laid it on top of my fabic, making sure the bottom edge of the binder lined up perfectly with the (newly-cut) bottom edge of my fabric. Then I used my ink pen to draw a line along the top edge of my binder. (I had to use my ruler to extend the line all the way to the end of the fabric.)
Then I cut along that line.
Now, I had a long rectangle of fabric, the width of the binder.
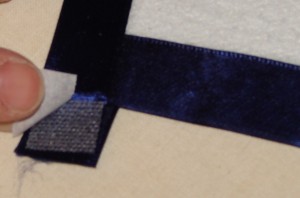
Now, I needed to use the ribbon to trim all four edges, one edge at a time. The first step was to carefully stick the fusible tape to both the top side and the underside of the edge of the fabric. I had never used fusible tape before, but it was super easy! It sticks lightly — sort of like a post-it note for fabric — until you iron it, and then it becomes a permanent bond. One thing I did wrong at first was to remove the paper from both sides of the tape as I pressed it into place.
That was fine for the top side, but then when I tried to turn the whole thing over and put a layer of tape on the wrong side of the fabric, the shirt kept sticking to the table! Eventually I figured out that it worked MUCH better to leave the paper on until it was time to iron the ribbon.
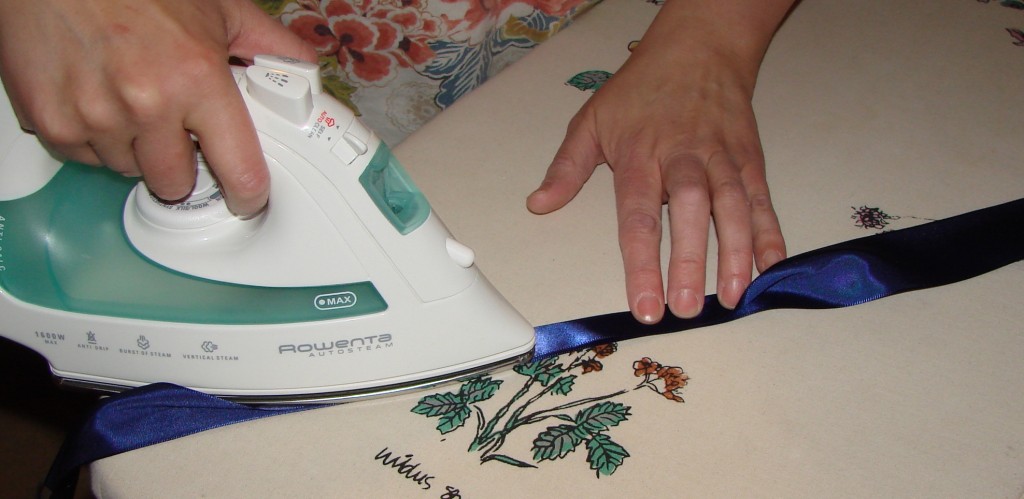
Next, I cut a piece a ribbon the exact length of the edge I needed to trim, and then folded it in half lengthwise, ironing it along the crease.
Then I removed the paper from the fusible tape and then tucked the sticky edge snugly into the crease in the ribbon.
Get it all the way in there, and also make sure that your ribbon looks straight and smooth (especially on the front, near the emblem).
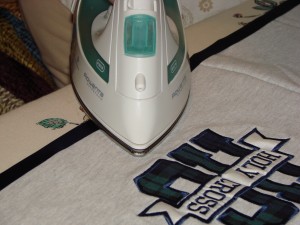
Then, I ironed it down to make a permanent bond. (Use a press cloth if the ribbon or sweatshirt might melt from the heat of the iron.)
When that edge was done, I did the OPPOSITE edge, in the same manner. For the remaining two edges, I did it slightly differently, cutting the ribbon about an inch LONGER than the edge I needed to trim, so that it stuck off the ends about a half an inch on each side. I folded the ribbon to the underside, using a tiny snip of fusible tape to attach it.
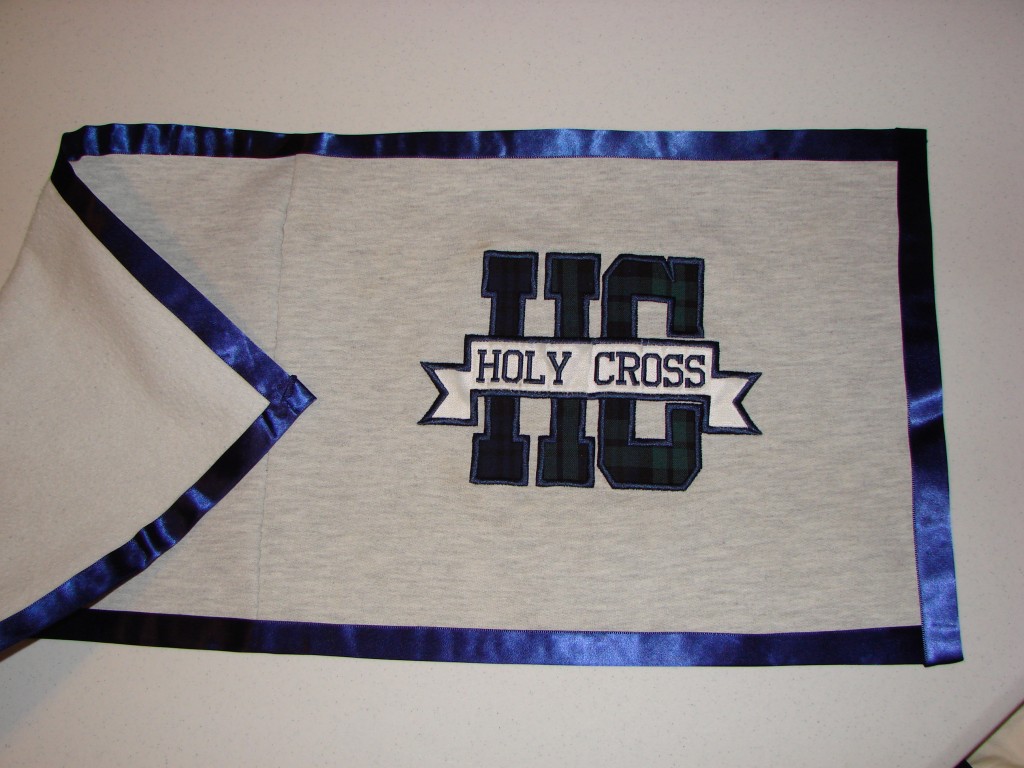
Now, I had my piece fully trimmed. WOO HOO! Almost done!
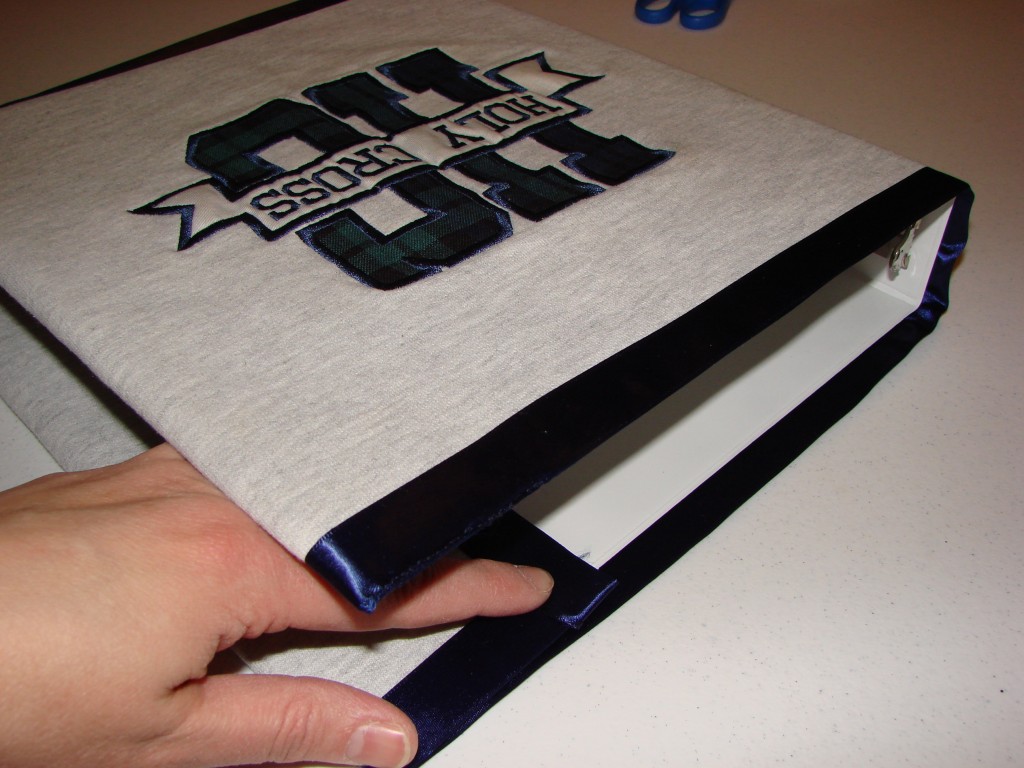
All that was left was to wrap the cover over the binder, centering the emblem, to see how much I needed to fold under for the flaps.
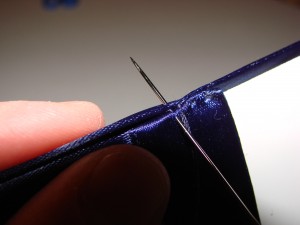
The cover needs to fit fairly snugly, but not so tight that it gets “stretch marks”. Once you fold it, you can remove the binder and pin it to hold it in place. Then, just stitch along the very edge where the cover meets the flap. Try to make this stitching tiny and neat, and do your best make sure that knots and loose threads are tucked out of sight.
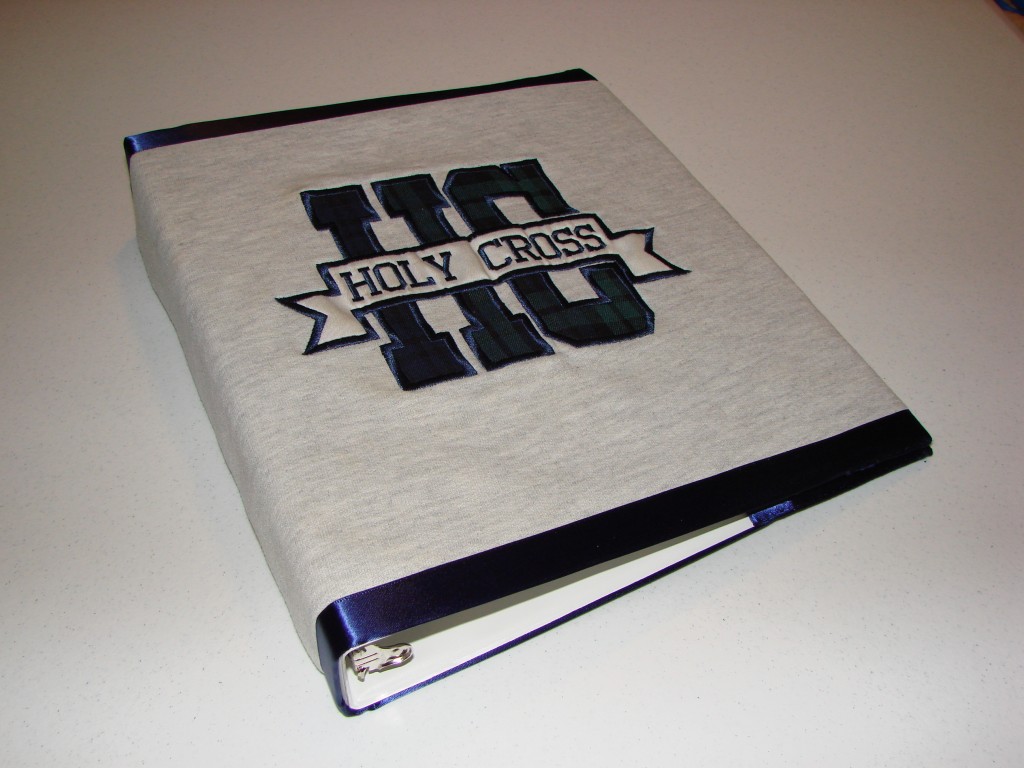
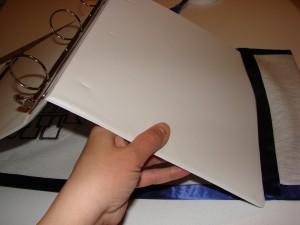
To put the cover on the binder, bend the binder backwards and slip the covers into the flaps.
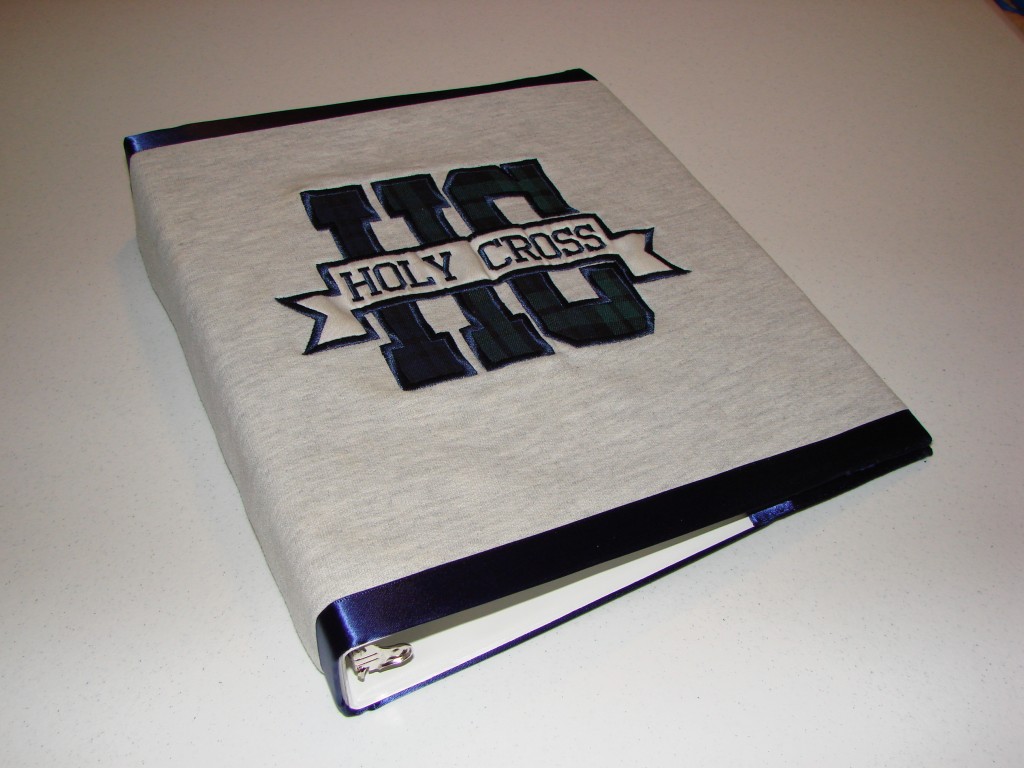
Voila! All done! Now I get to have fun filling it up!
P.S. I’m thinking this project could also be used for sports jerseys, costumes, or any other clothing item that has a special sentimental attachment. Can you think of one that you might want to turn into a scrapbook?
