How to give an egg timer a tri-metal upgrade
There is just something magical and enchanting about hourglasses.
Can’t you visualize the witch’s giant hourglass with blood-red sand, counting down the minutes to poor Dorothy’s demise in the classic movie, The Wizard of Oz? Or imagine Hermione’s “Time Turner” necklace from the wizarding world depicted in Harry Potter and The Prisoner of Azcaban?
Maybe hourglasses fascinate us because they are such powerful symbols of the slow and inevitable passage of time.
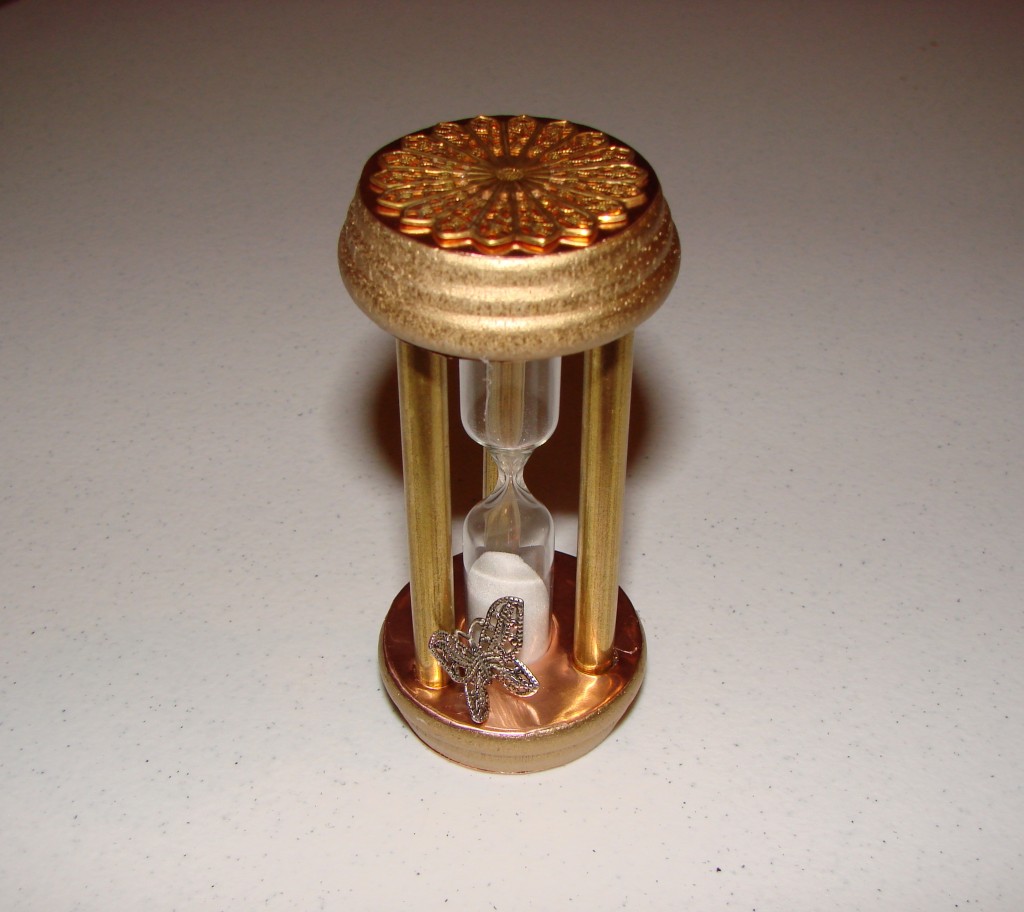
You can transform a humble wooden kitchen egg timer into a timeless metal art piece — and it is simpler than you might think.
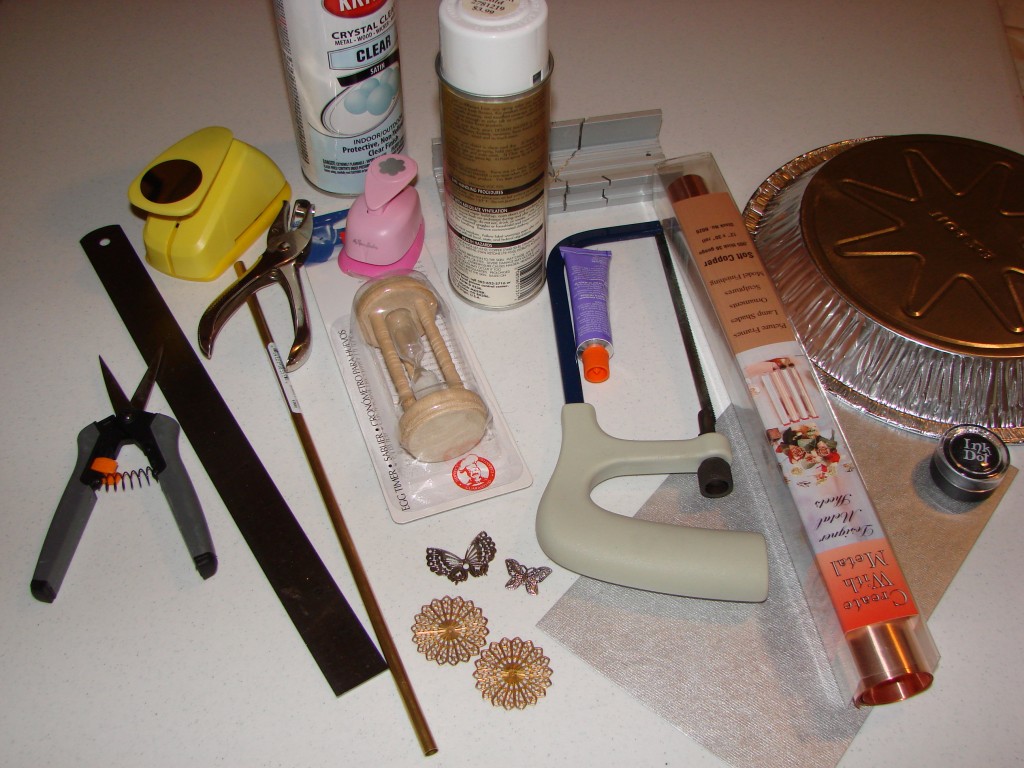
What you need to make your own tri-metal timer:
- A standard wooden egg timer
- Brass or copper tube, the same size as the pillars of the egg timer (mine was 1/4 inch)
- A saw, to cut the tube
- A thin sheet of copper and/or aluminum pie pan (or heavy-duty foil)
- Tin snips
- Metallic spray paint
- Sturdy, clear-drying glue suitable for bonding metals and wood
- Other metal embellishments of your choice: wire, charms, gears, chains, pendants
- Circular punches (I used a standard 1/4 inch hole punch, and 1/2 and 1-1/2 inch circle punches)
Step 1: Take the wooden egg timer apart.
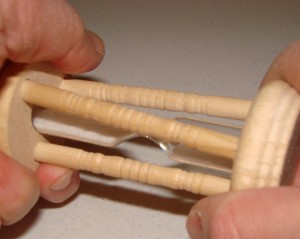
Of course, to reconstruct the timer, you must first deconstruct it (being careful not to break the glass in the process!) I started by holding one end of the timer in each hand and then twisting the two ends in opposite directions, to loosen the glue.
At first, it did not feel like it was moving. But I kept at it, twisting back and forth for quite a while, and eventually it did loosen and come apart.
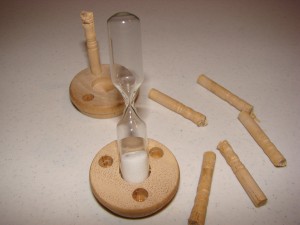
HOWEVER… when I tried this same technique on a second timer, it did not come apart even with a great deal of twisting. So for that one, I had to cut through the middle of the wooden pillars with tin snips, then grasp the ends with pliers and pull them out. Whew!
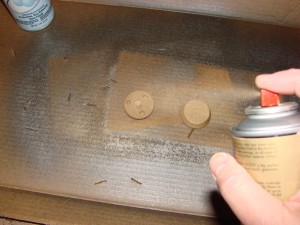
Step 2: Paint or stain the wooden end caps.
I used gold spray paint and then a clear sealer, but it would also be nice to use a dark wood stain, or even gold leaf. Make sure you get a thin, even coat of color. If the paint is too thick, it may be hard to fit the pillars into the end cap.
While you wait for the end caps to dry, you can work on the next step.
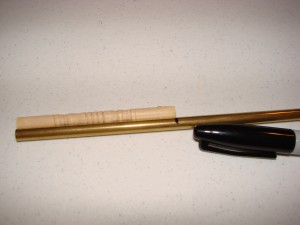
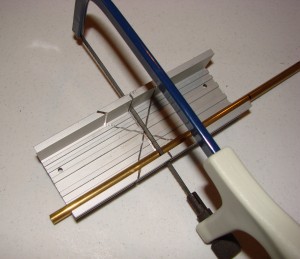
Step 3: Cut the metal pillars.
If you managed to take the timer apart without breaking all the pillars, measure one so you’ll know how long the new ones need to be.
If you had to cut or break all the wooden pillars, then use the glass bulb as a measuring guide. The way my timer was constructed, the pillers needed to be about 1/8 inch longer than the bulb.
It is important to cut the pillars straight and exactly the same length, otherwise your timer will not look straight. I used a miter box (my little hacksaw came with its own little miter box, woo hoo!)
Be careful — the edges can be sharp! You can file them down to smooth them, if you like. It is not absolutely necessary; the ends will all be inserted into the end caps and glued in place.
Step 4: Cut the copper ends.
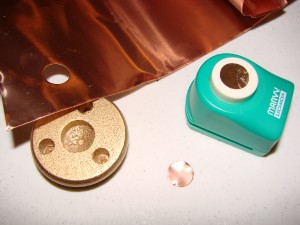
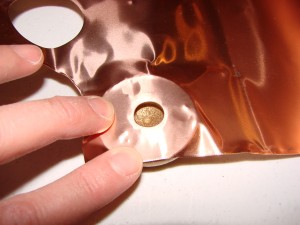
Measure the end caps and use tin snips or a craft punch to cut four circles, for the outer and underside of each of the end caps. I used copper for mine, but you could also use a smooth pie plate or heavy-duty aluminum foil. The outer circles were 1.5 inches, so I used a craft punch to make perfect circles.
The inner circles were an odd size — 1-5/8 inches, so I needed to cut those by hand using tin snips. However, I also needed to punch several holes in the inner circles, corresponding to the positions of the pillars and glass bulbs. So I started by punching a half-inch hole, for the glass bulb.
Then I laid the copper sheet on the end cap, carefully lining up the center holes. Rubbing and pressing the copper firmly against the end cap produced indentations along the edges and where the pillar holes belonged.
You’ll be able to use a 1/4 inch standard hole punch to do the pillar holes. Be sure to turn the punch upside-down so you can perfectly position the pillar holes.
Step 5: Assemble and add embellishments.
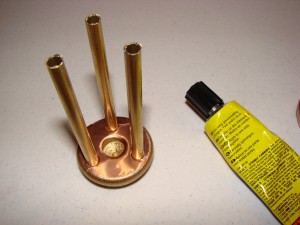
Use your sturdy, clear-drying glue to attach everything together. First, inset all the pillars and glass bulb into one of the end caps.
Make sure to insert the glass bulb and all the pillars into the second end cap simultaneously — once one pillar is firmly in place, it will be impossible to add the glass bulb or any other pillars, unless they are already guided into their respectve holes in the end cap.
Last, add embellishments to make your timer more stylish. You can use metallic origami paper to make roses — there are great instructions over at Craft, Life and Laughs! You can also add metal charms, like my filigree circles and butterfly. I gave the butterfly a slight bend in the middle before attaching it.
Be sure whatever embellishments you attach to the inner circle of the end cap aren’t too large. You still want the sand to be visible. Remember that your embellishments will be upside-down half the time. You may want to do embellishments on both ends, so some embellishments show no matter how the timer is turned.
Be sure to avoid heavy embellishments that might come loose and fall off.
You could try wrapping the edge of the end cap with wire, or paint your own designs with metalic paints.
Have a great time!
